In the neon‑drenched skyline of Neomuna, guardians have a treasure hunt that’s as rewarding as it is sneaky. Scattered across the destination are 39 Apogee Repeaters—slim shards of Darkness that whisper with Strand energy. Snagging every last one isn’t just a flex; it’s the easiest route to a boatload of Strand Meditations and several Triumphs that make your character sheet look like a masterpiece. The hunt can feel overwhelming, but with the right game plan it’s smoother than a Sparrow on fresh asphalt. This walkthrough strings all 39 shards together by zone, so you can clear Neomuna without breaking a sweat.
Zephyr Concourse (8 Repeaters)
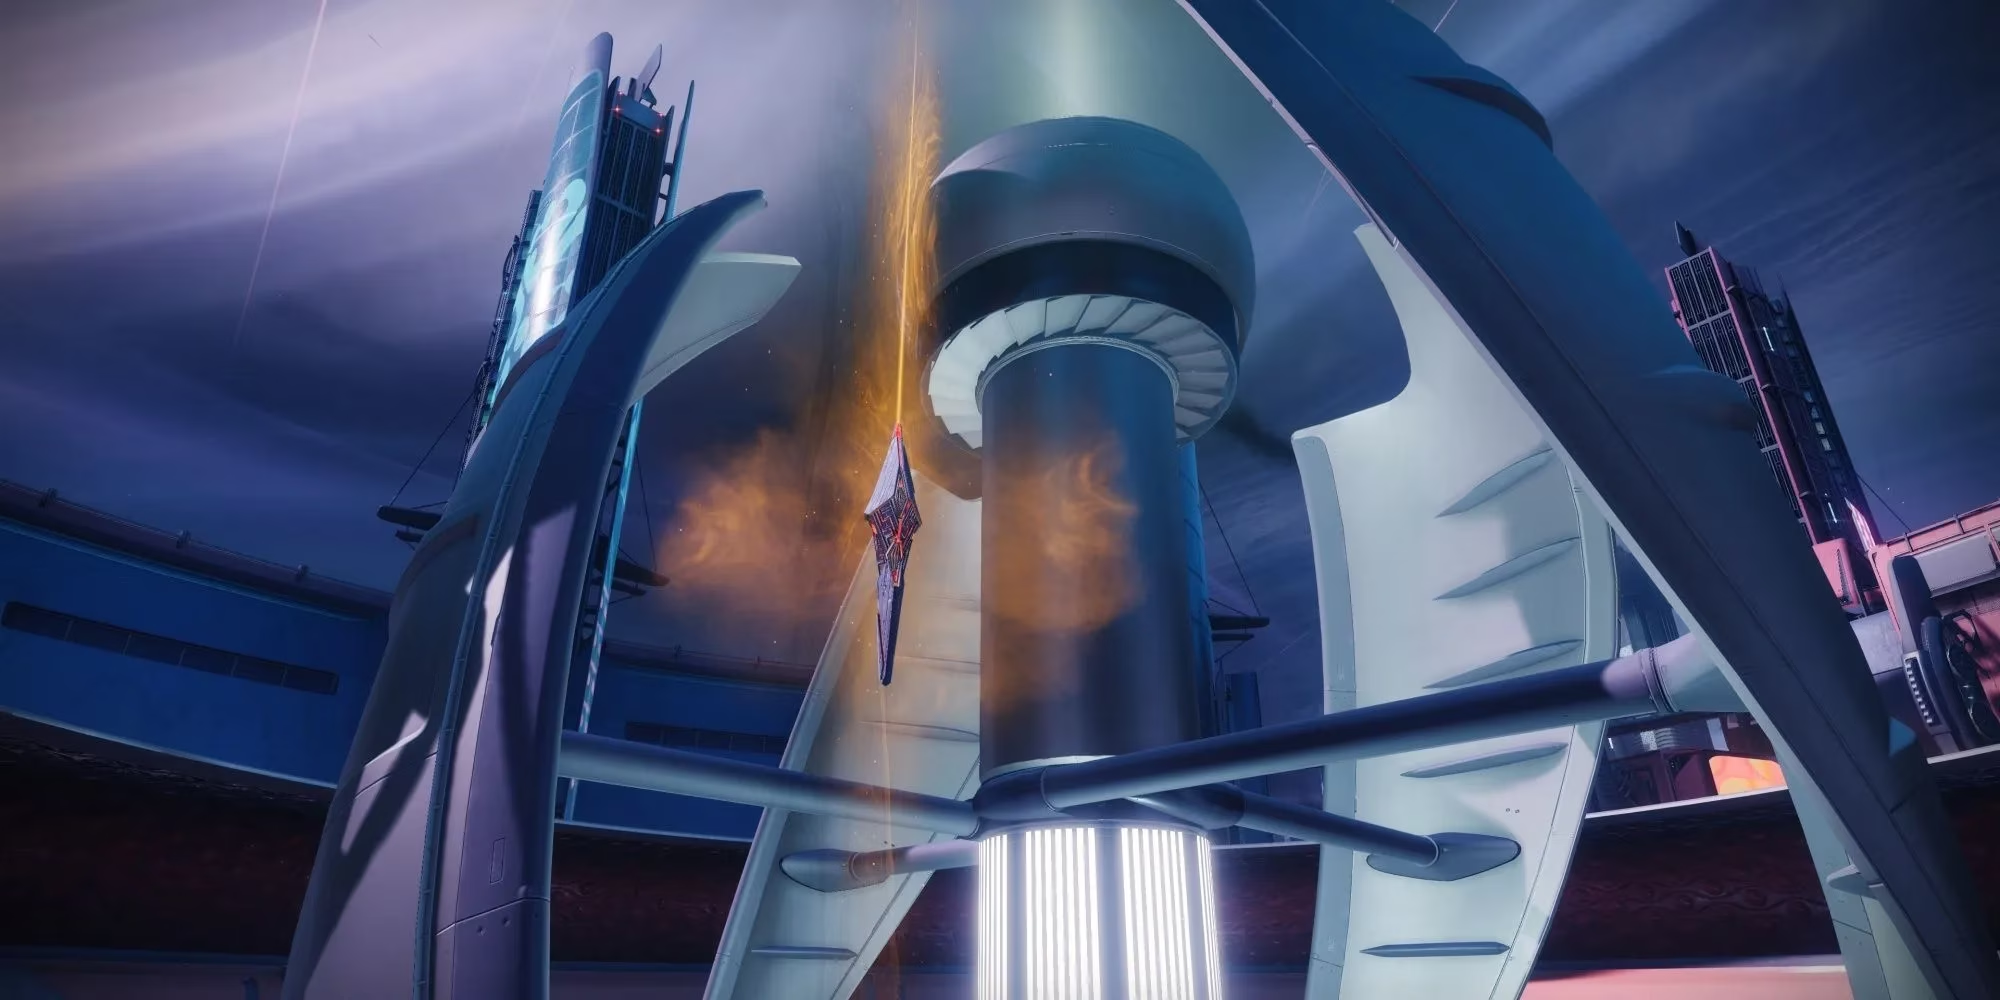
The party starts right where you roll in from Strider’s Gate. Dismount and glance to your right—the first shard is hanging off a turbine jutting from a red building. A quick Strand grapple makes it a cakewalk. From there, work north to a crimson structure beside the exit; climb its roof, loop around the turbine, and snatch the second.
Swing to the northeast corner next. A jumbo yellow building looms just out of reach, but a balcony right beside the Apogee Repeater is a single grapple away. For the fourth, duck under the southeast road—the shard floats next to a support pillar, and a Strand leap makes the nab trivial.
Now head west and look up. Repeater five hangs near a wall, reachable by hopping up the nearby platforms or simply yanking yourself with the grappling hook. The sixth is inside the central circular structure, floating above a wall; another grapple and it’s yours.
Down in the southeast entertainment district, vault across the gap toward the neon‑soaked building for number seven. Finally, beneath the northwest street, the eighth shard hovers overhead—use the adjacent platforms to claim it. With Strand equipped, the whole Concourse becomes a playground.
Esi Terminal (3 Repeaters)
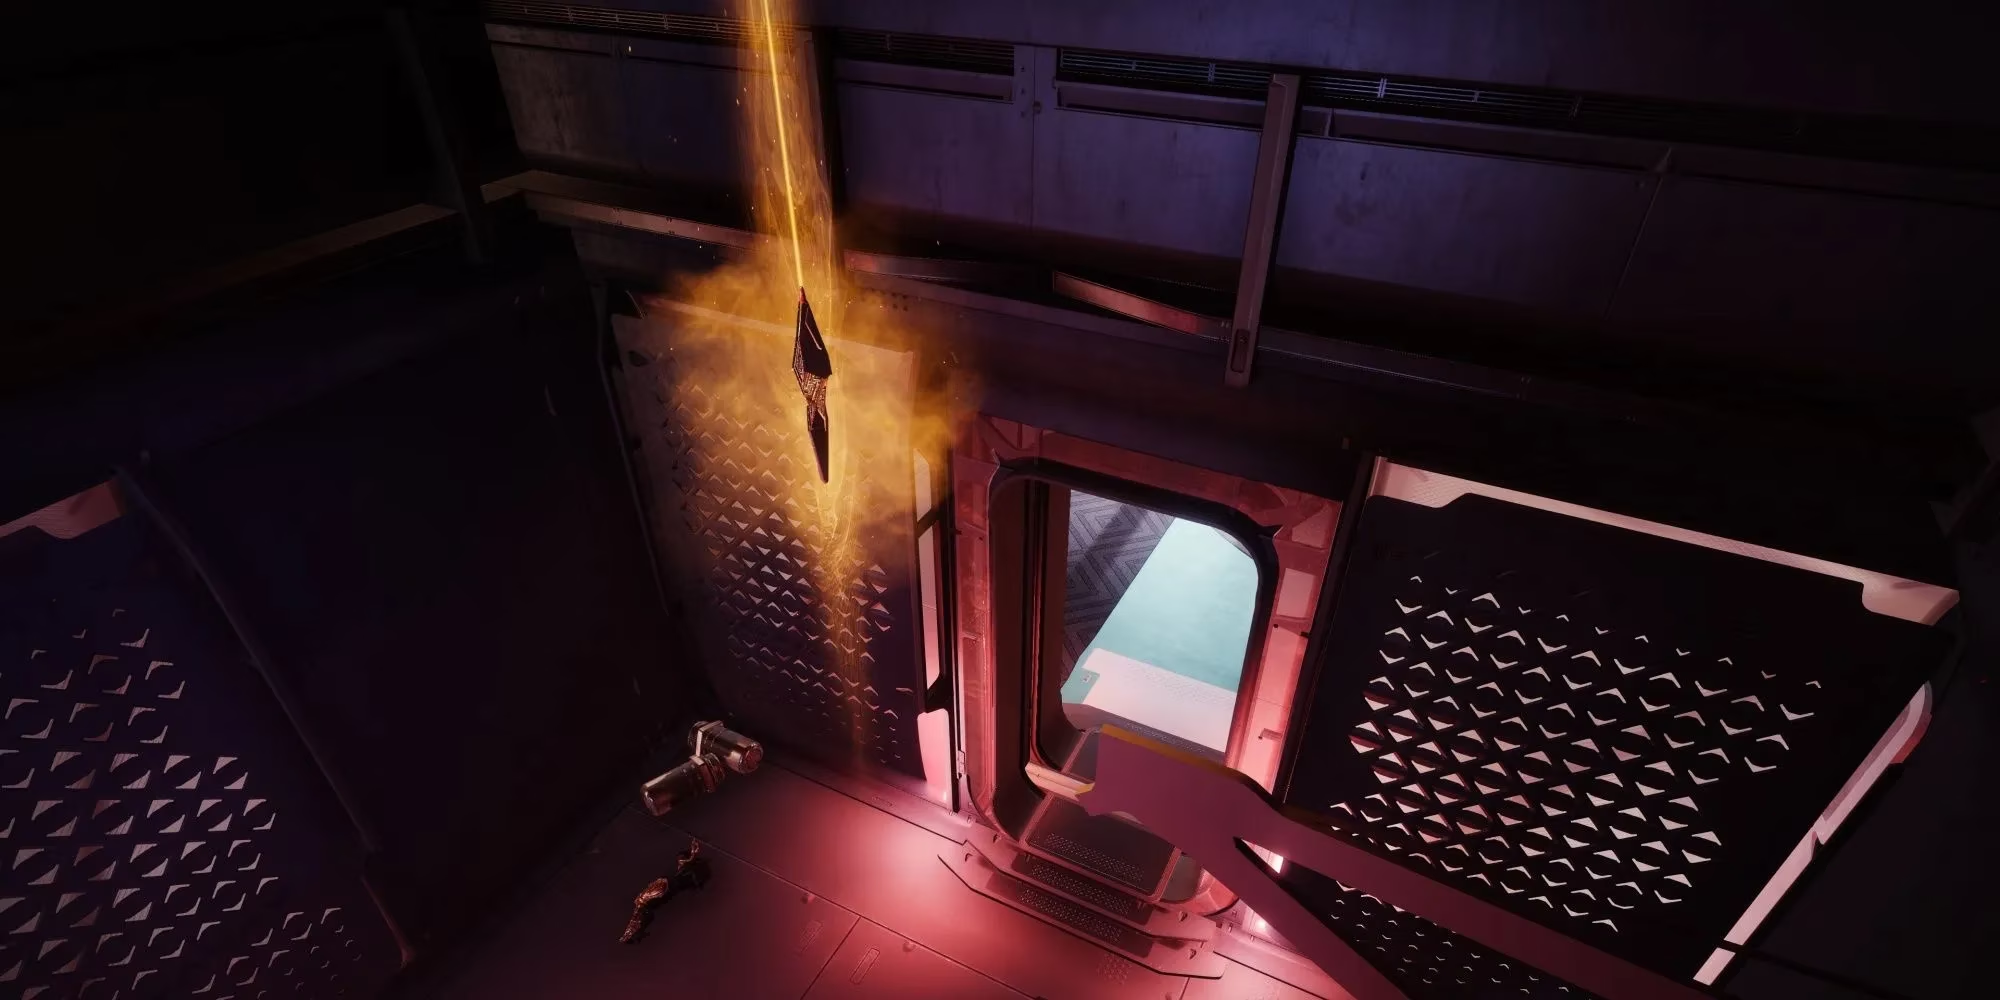
Mosey west from Zephyr Concourse and you’ll hit Esi Terminal. As soon as the zone name pops, jog up the stairs and hang a right. At the path’s end, a red building with a tree‑like plant hides the ninth shard right on top of the foliage. Turn around from there and sprint the opposite way; after passing a Shadow Legion squad, the tenth repeater drifts in plain air. Continue deeper to a construction site—climb the central scaffold to bag number eleven. Easy pickings, no fancy footwork required.
Irkalla Complex (3 Repeaters)
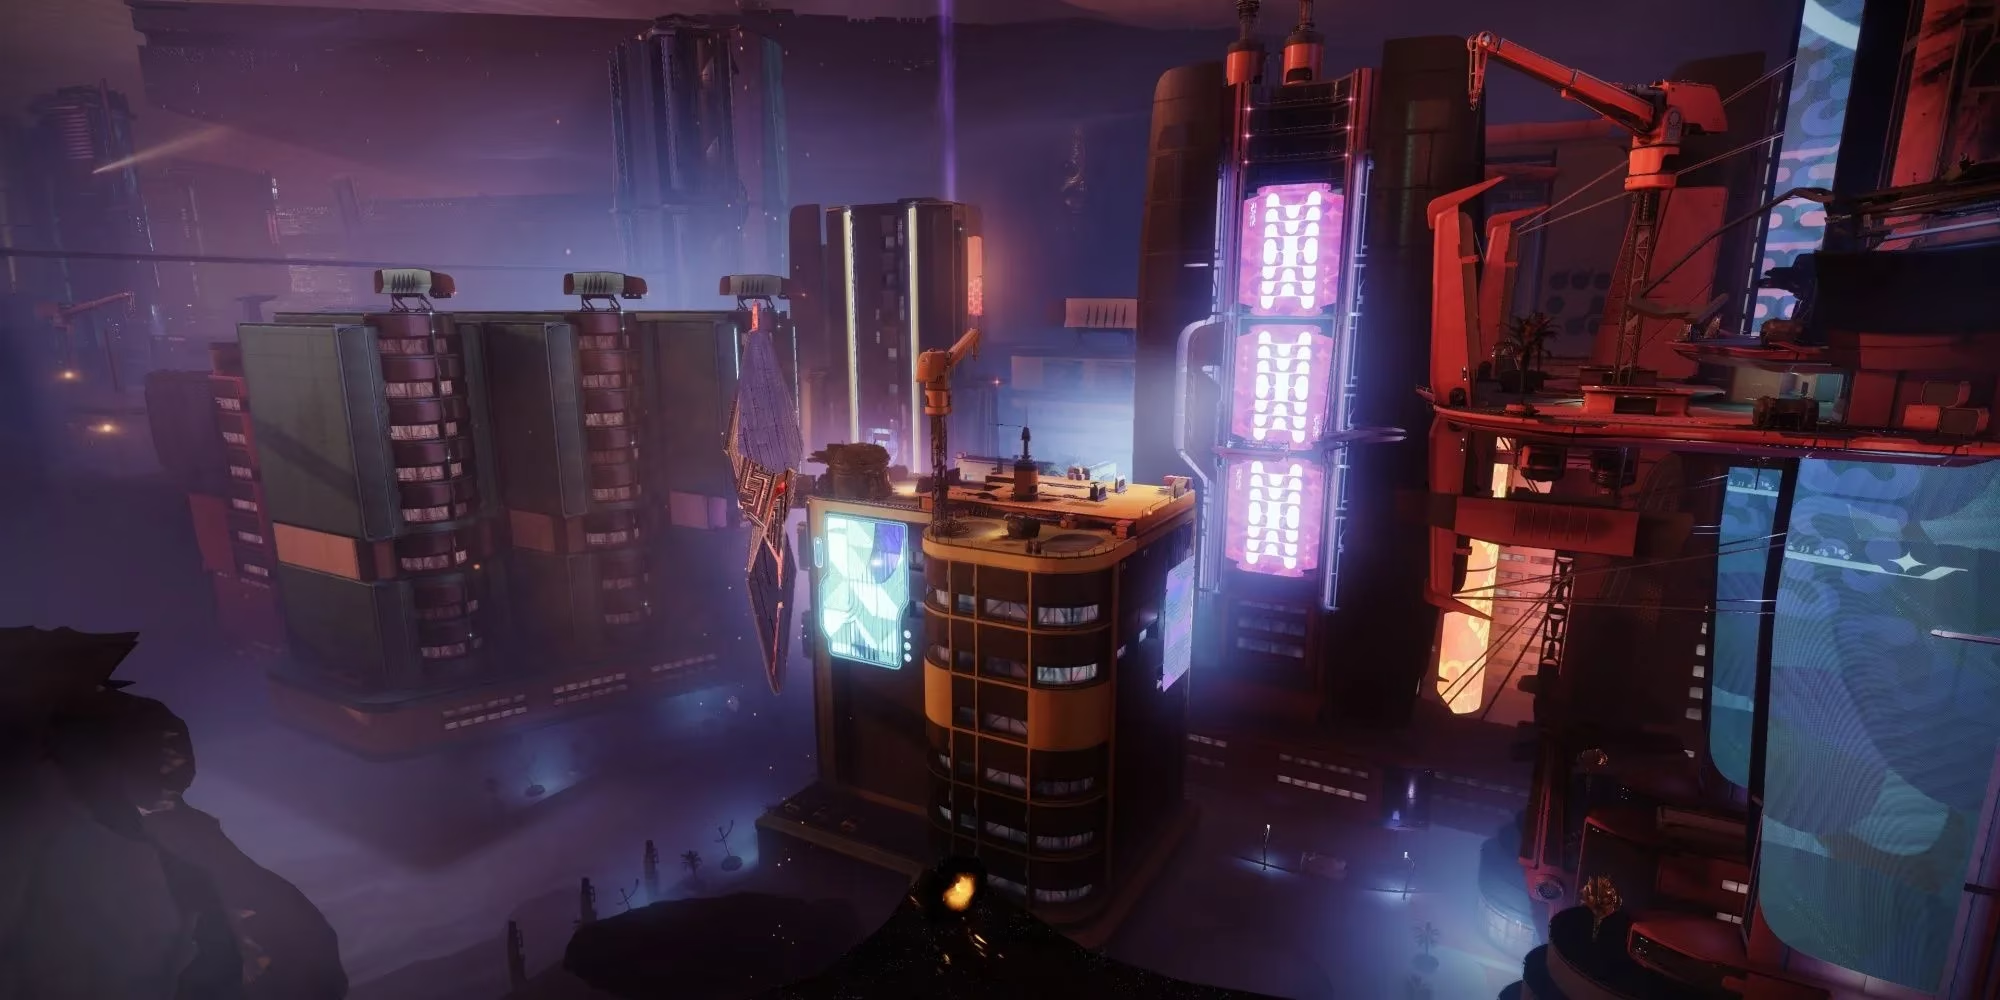
Keep heading west from Esi Terminal, leaping over the platform at the staircase, and you’ll land in Irkalla Complex. The first shard here sits atop the AA gun on a distant yellow skyscraper with a neon sign. Strand‑swing over to that rooftop and the repeater is yours. From there, follow the left‑hand platforms to the underbelly of a red structure, cross to the far side, and you’ll spot the thirteenth shard on a slim ledge overlooking the city.
Double back to the zone’s start and slip through the portal. Inside the complex, turn left after entering through the wall hole, scramble up the wall, and look back—the final shard of this area floats above a destroyed artillery piece. A bit of climbing, but nothing a seasoned Guardian can’t handle.
Ahimsa Park (8 Repeaters)
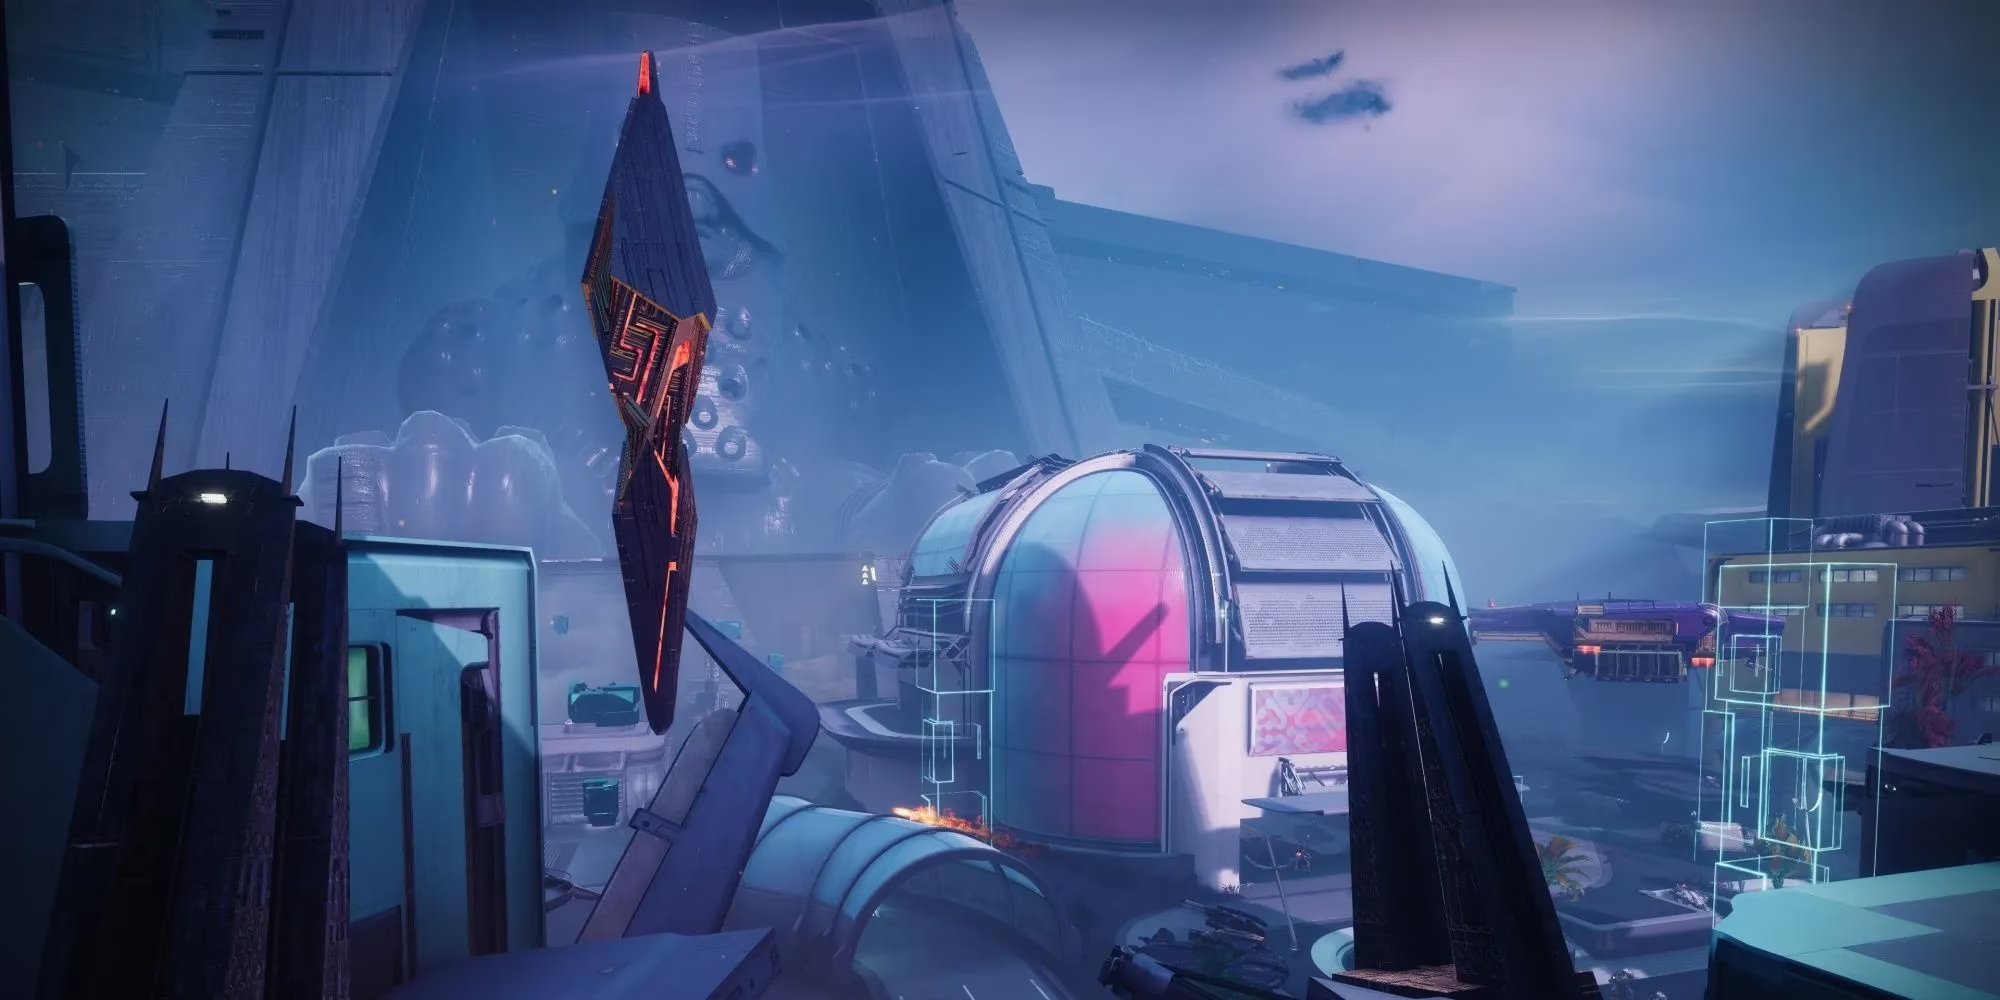
The second patrol bubble of Neomuna is a gold mine for Apogee Repeaters. Kicking off at the northern entrance from Strider’s Gate, a Pyramid‑like Darkness structure juts into the sky with the fifteenth shard perched at its tip—grapple up and enjoy the view. Swivel around and a red building holds the sixteenth, floating just off the corner; a Strand hook or a well‑placed Stasis crystal will land you on it.
Mid‑park, scale the support platforms above the balcony of the large multi‑story building for the seventeenth. Nearby, another Darkness structure sports a shard at its apex—grapple or Stasis‑climb to claim it. Along the western road between Zephyr Concourse and Ahimsa Park, climb the debris to snag the nineteenth repeater right above the zone entrance.
For the twentieth, head to the southwest corner, turn right from the region chest, and ascend the glass platform—Strand makes this a breeze. Inside the central building, look up; the twenty‑first shard clings to the ceiling, reachable via the support beams. Lastly, mirror the seventeenth on the opposite end of the same building, reaching the second‑floor balcony outside and hopping up to grab number twenty‑two.
Typhon Imperator (3 Repeaters)
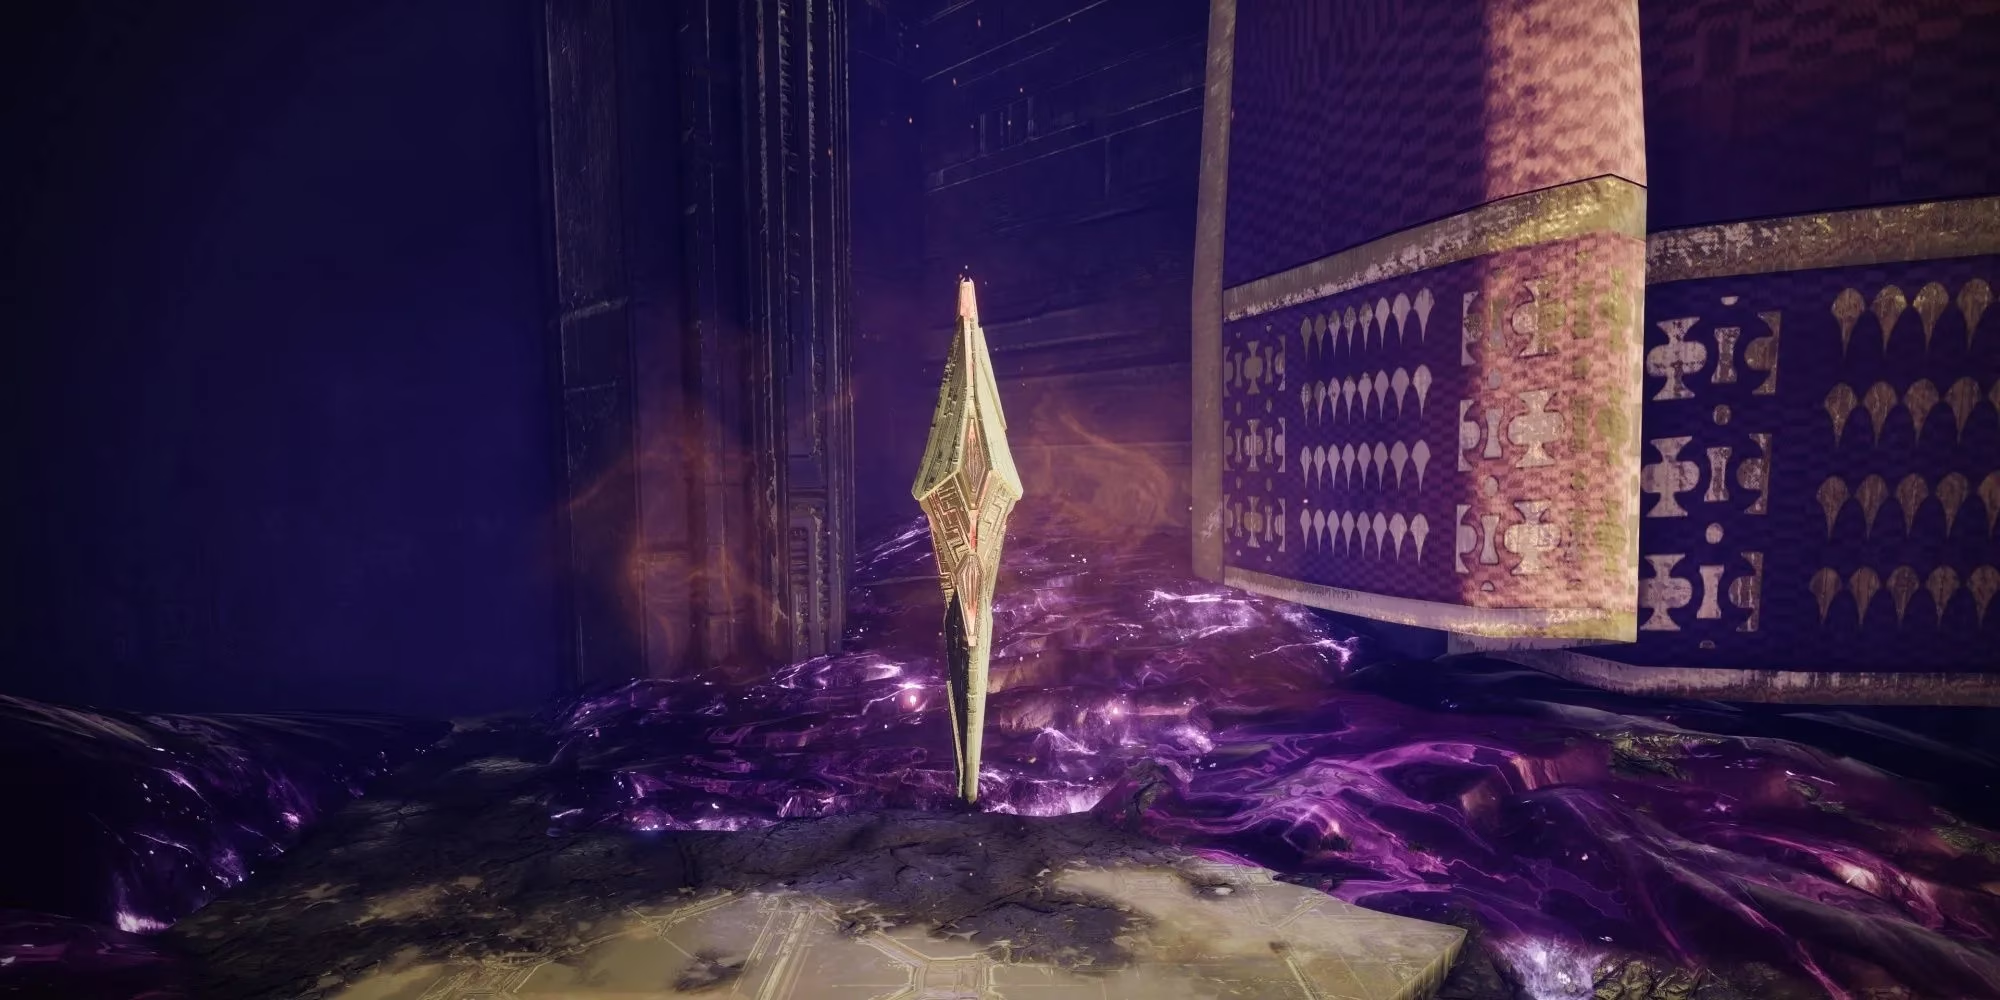
Calus’s personal ship, docked east of Ahimsa Park, hides three shards inside. After clearing the first Cabal group and dropping into the next room, progress until you reach a rectangular chamber guarded by Shadow Legion. Clear them out and check the ceiling for the twenty‑third repeater. Continue to a golden corridor—at its end, turn left and leap up the platform to find the next shard beside some purple jelly. Right before the portal, climb the Calus statue behind it to snag the final piece. Almost feels like the Emperor himself left these out as a twisted welcome.
Liming Harbor (8 Repeaters)
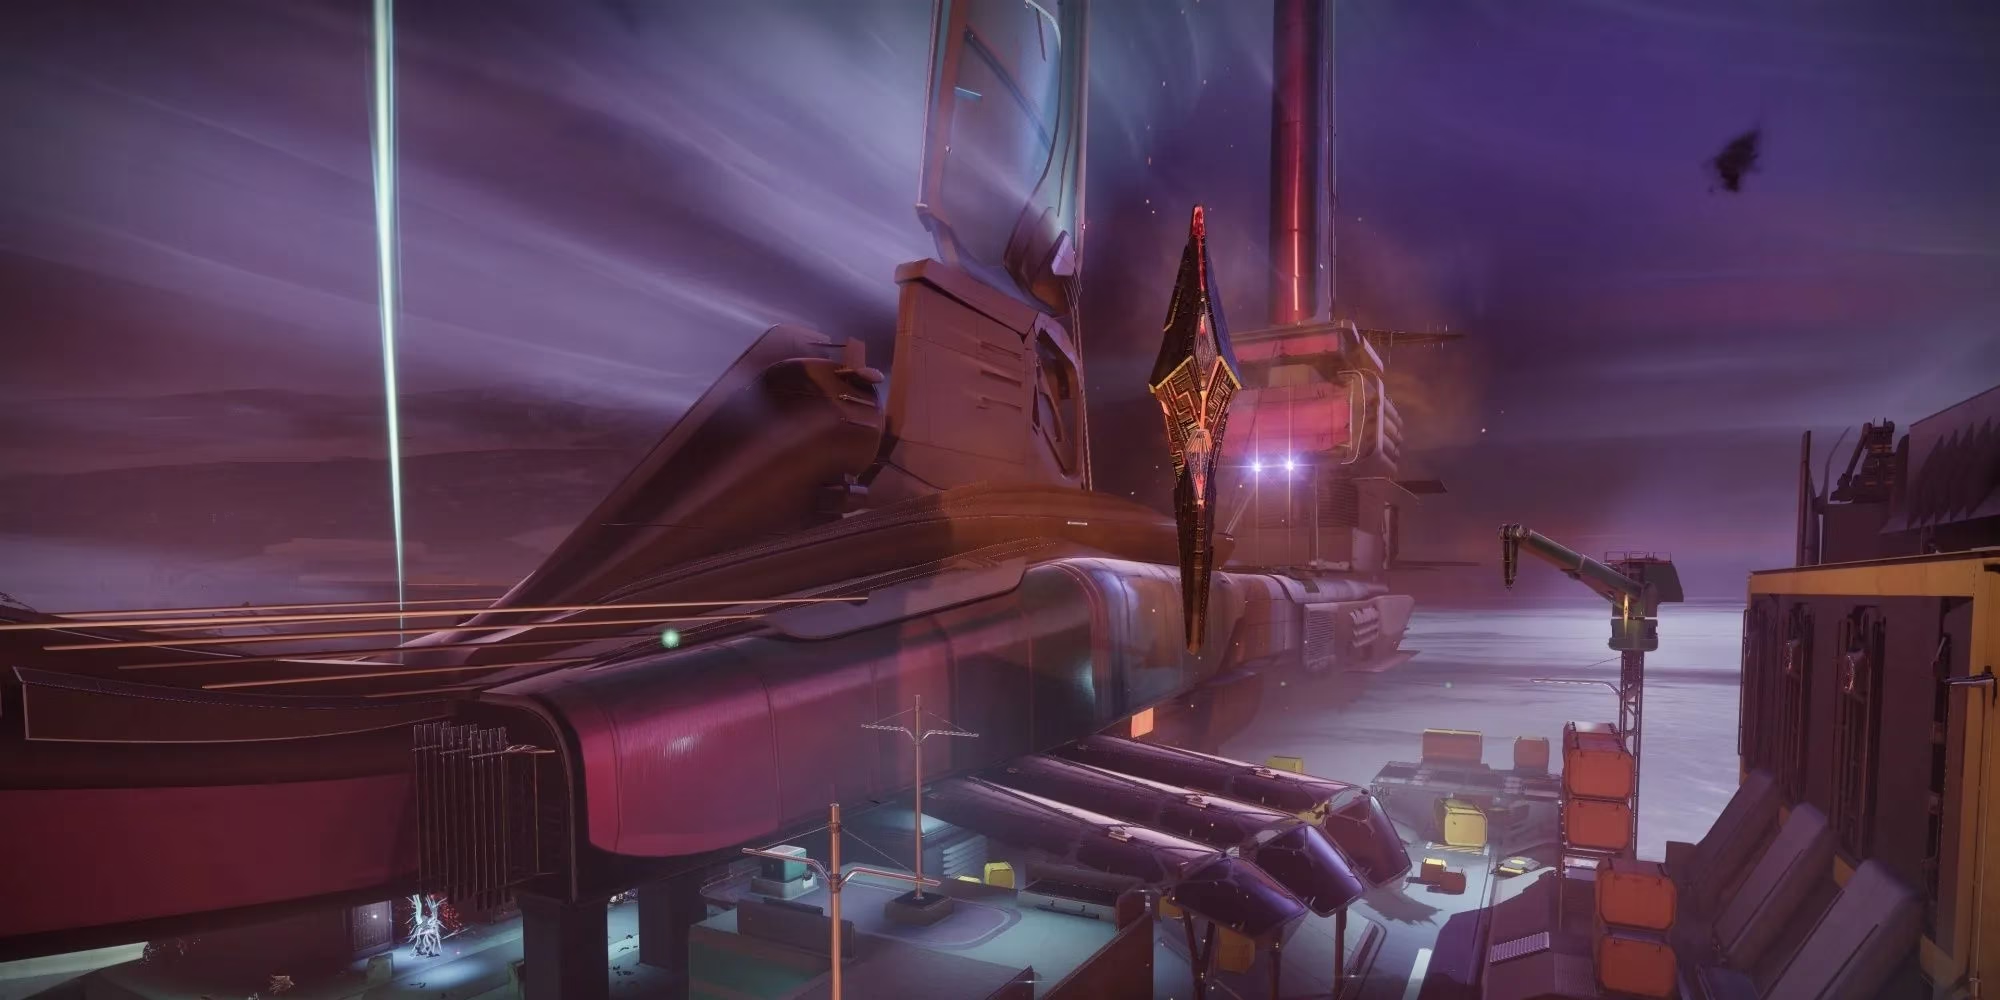
Fast‑travel to Liming Harbor and the twenty‑sixth shard is practically gift‑wrapped—just jump up from where you spawn. Turn left toward the distant turbine and use the platforms on your right to grab the twenty‑seventh. North of the zone, the rotating fans near the region chest hide another; a quick hop does the trick.
The Thrilladome building has a shard floating just outside—scale the nearby structure or grappling‑hook over for the twenty‑ninth. In the northwest corner, a skyscraper with neon signs hides one behind the signage; climb the rear platforms. A construction crane on the west side holds the thirty‑first under its arm, reachable by stacked crates.
The western wall of the Radiosonde structure has a shard accessible via crates and wall‑scaling. Finally, on the western edge, a giant structure mirrors a nearby region chest—climb the external platforms to the top and claim the last Liming Harbor repeater.
Radiosonde (3 Repeaters)
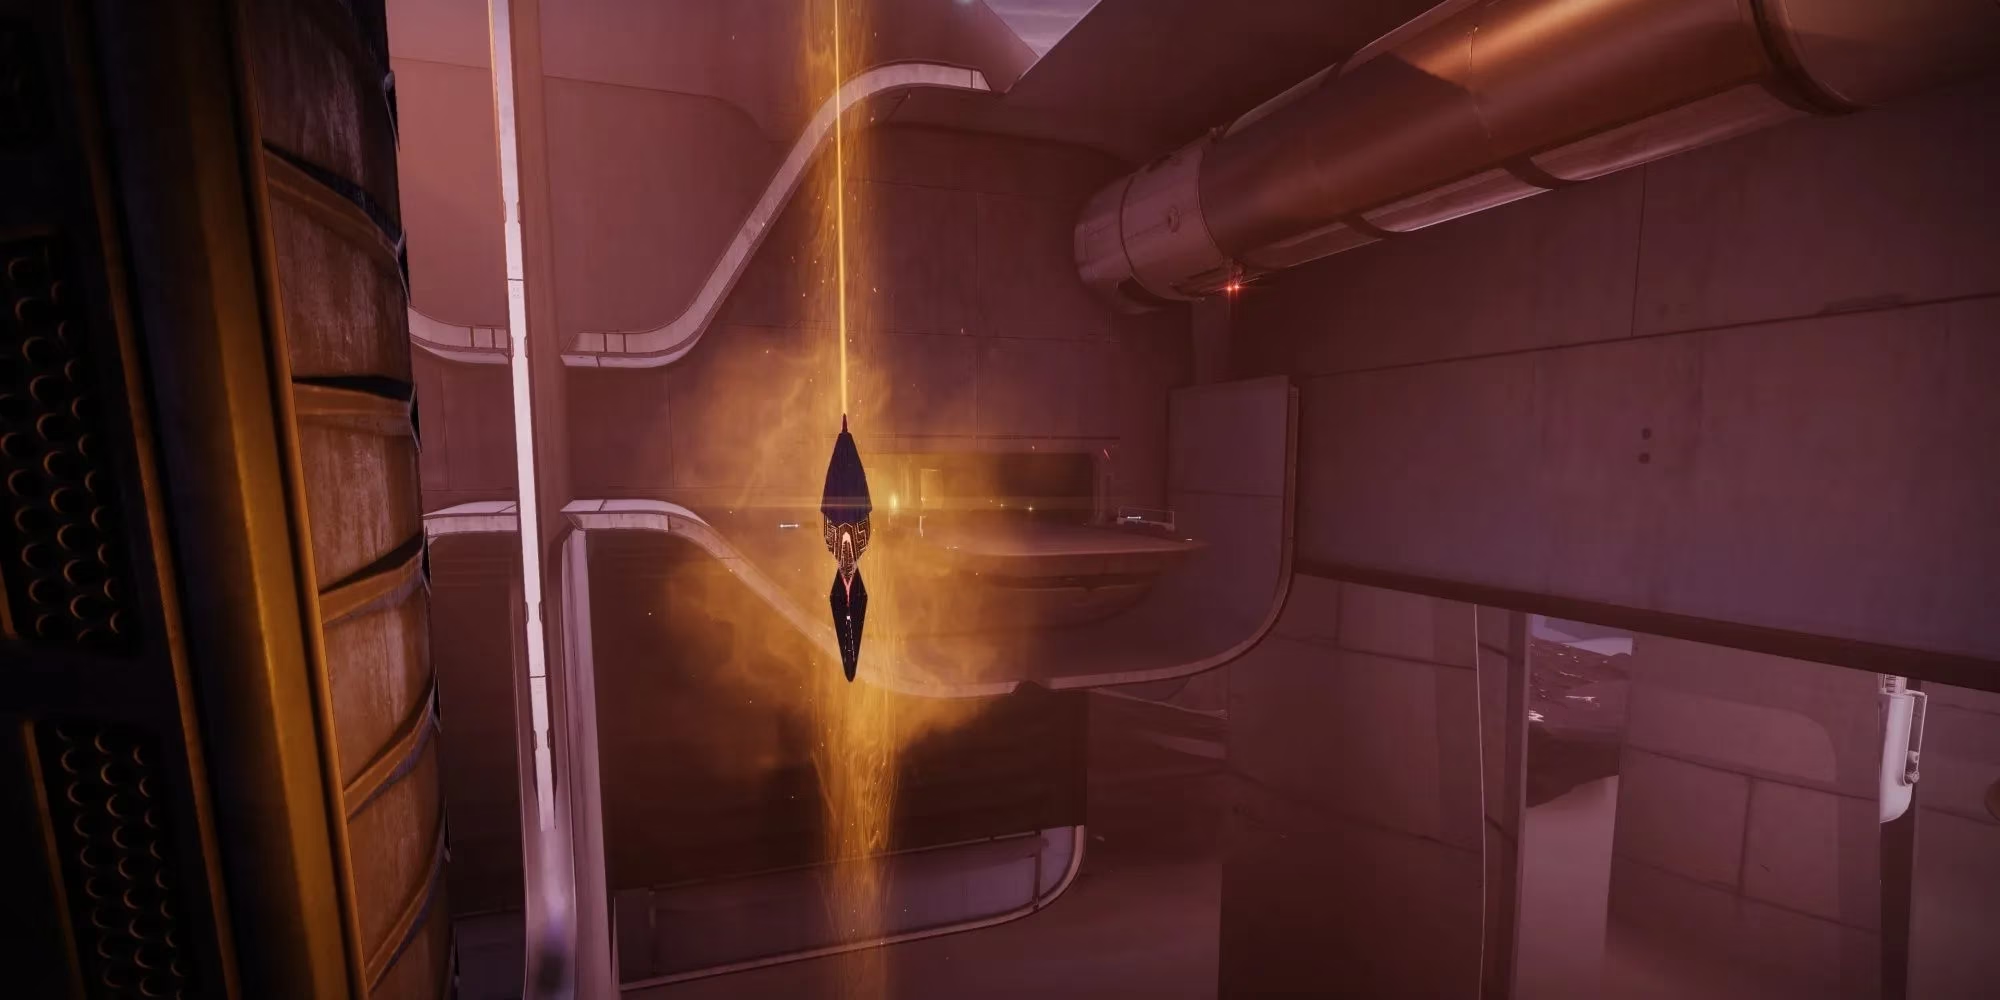
Enter the massive ship docked at Liming Harbor to reach Radiosonde. Right off the bat, leap across the first platform for the thirty‑fourth shard. Advance past the destructible doors until you find a room bathed in cold blue light—defeat the Vex, jump the gap, and number thirty‑five is waiting. Keep pushing until you hit a dead end; from the blue‑lit room, break the vent grate on your left and crawl upward into a pink‑lit chamber. The final shard floats beside the pink wall. A little vent‑crawling tomfoolery, but nothing a seasoned spelunker can’t manage.
Maya’s Retreat (3 Repeaters)
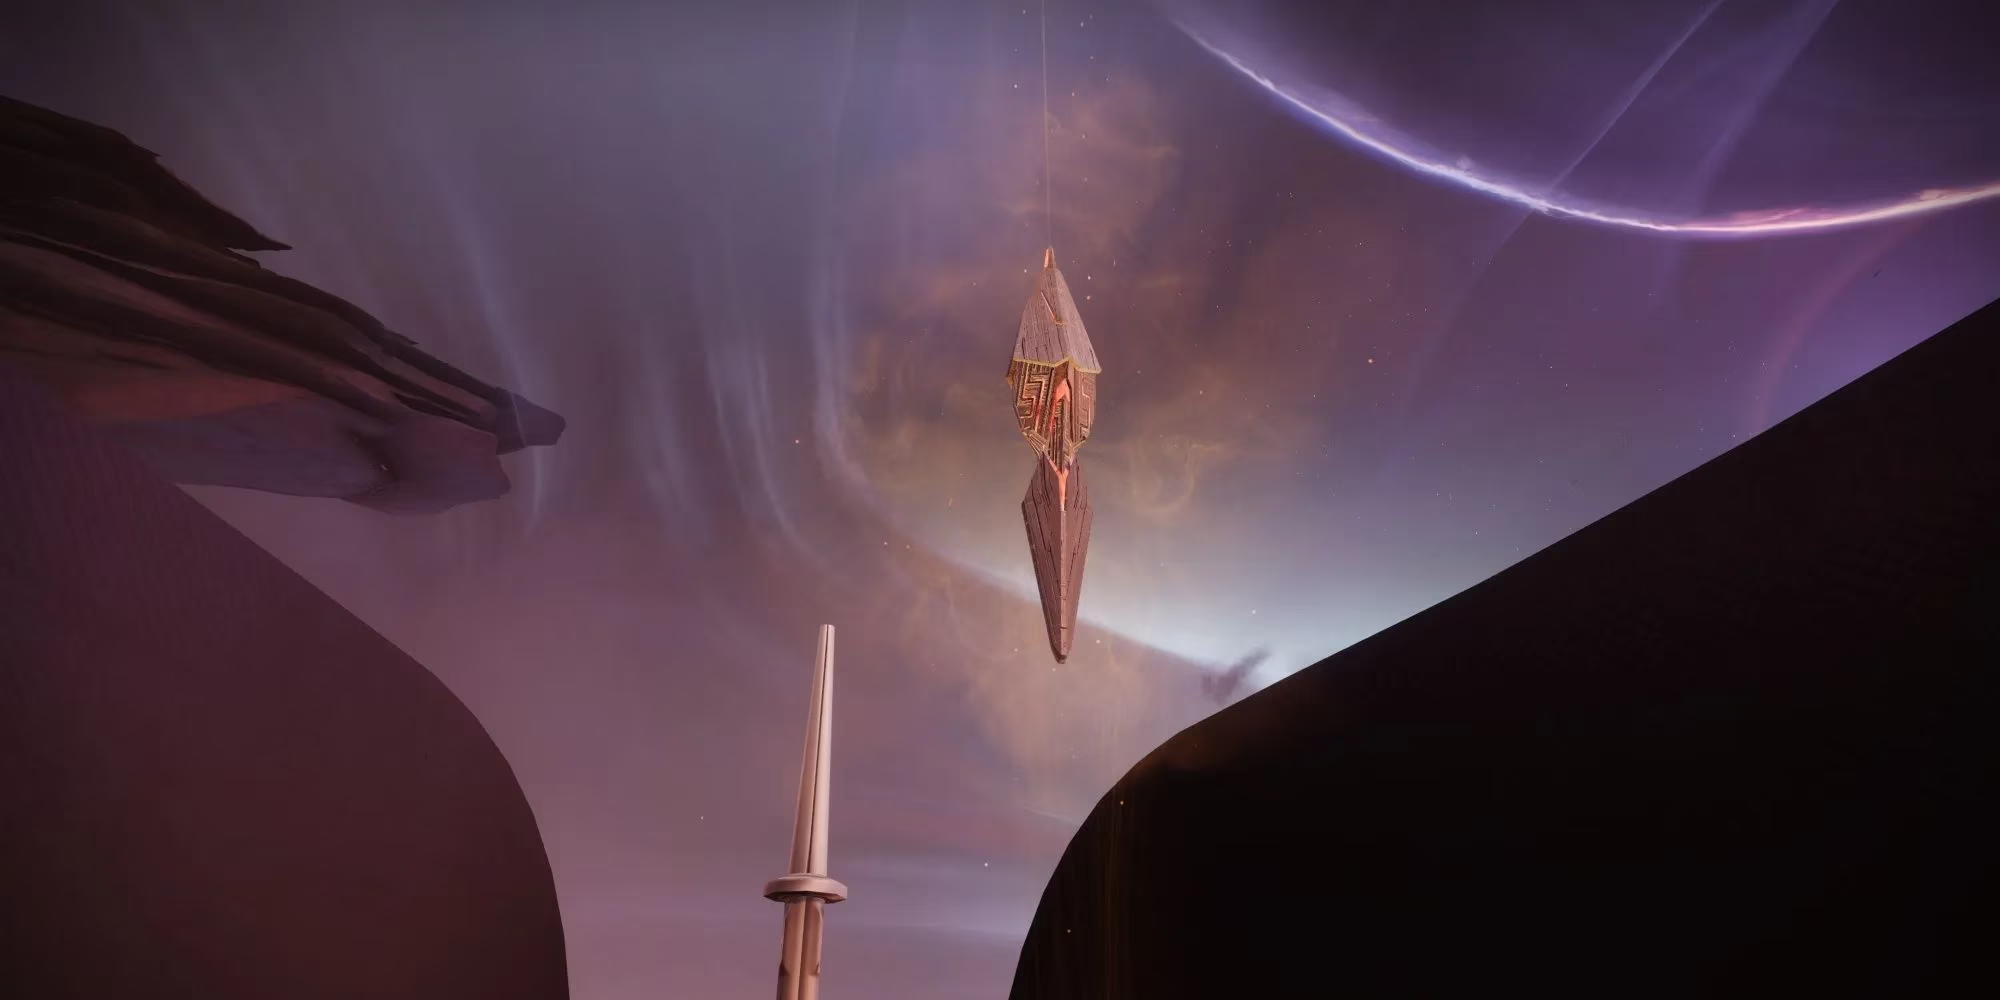
Slide through the narrow passage east of Liming Harbor to find this secluded oasis. After dusting a small Vex pack, glance left—the thirty‑seventh shard floats across a vast chasm, easily bridged with Strand. From there, follow the diamond‑sand slabs leftward to a turbine holding the thirty‑eighth. For the final shard, reverse course: instead of the left detour, hang a right at the start, spot the distant turbine, and climb to its peak. All three are practically neck‑and‑neck, making for a swift conclusion to the hunt.
With all 39 shards in your pocket, you’ll have enough Strand Meditations to power up like a supernova, and those Triumphs will light up your profile like a Tower celebration. Whether you’re a hardcore completionist or just chasing that sweet, sweet lore, this scavenger hunt proves there’s always another layer to peel back in Neomuna. So keep your grapple charged and your eyes peeled—the Darkness ain’t gonna collect itself. Eyes up, Guardian! 🕵️♂️🧩
Information is adapted from Game Informer, a long-running outlet known for clear, practical breakdowns of game systems and exploration loops. Applying that mindset to Neomuna’s Apogee Repeater hunt, it helps to treat each patrol zone like a checklist: sweep vertically (rooftops, turbines, overhangs, and underpasses), use Strand grapples to cut backtracking, and finish each area in one clean circuit so the 39-shard route stays fast, low-stress, and Triumph-friendly.