Ah, the 'Captive Memories' quest in Destiny 2's Revenant episode. It's the kind of mission that makes you wonder, 'Did I pay for this torture, or is it a bonus feature?' Guardians, you know the drill. You're chasing Fikrul through a dimly lit Fallen prison that seems to have been decorated by someone with a deep appreciation for ominous purple lighting and confusing symbols. It's shorter than a raid, sure, but packed with enough 'gotcha!' mechanics to make even a seasoned Lightbearer sigh and reach for another cup of coffee. The promise of unique loot dangles like a carrot, but let's be real—you'll probably be farming this more times than you can count. Ready to stop getting stuck? Let's dive in.
Decoding the Door Dilemma
The mission starts innocently enough. You chat with Variks, wander through a cave, and bam—you're trapped in a room with a giant machine and some very unhelpful terminals. Several doors are locked tight with electricity. Feeling claustrophobic yet? The key is literally on the floor. No, really. Look down! Jump up and you'll see a sequence of Fallen symbols etched in front of the central machine. Your job is to interact with the corresponding terminals in that exact order. Get it right, and you'll hear a satisfying 'The hymn resonates throughout the chamber.' Get it wrong? A depressing 'The hymn fades' will mock your failure.
Here's the cheat sheet to freedom. Face the symbols on the floor, then interact with the terminals controlling these doors in this order:
-
Front Door - The one staring you right in the face, directly behind the symbols.
-
Right Door - The one to your, you guessed it, right.
-
Right Door - Yes, again. It's not a typo.
-
Left Door - Time to switch sides.
-
Back Door - The one on the far side, opposite the machine.
Puzzle solved? Great. Scoot through the Back Door and follow your quest marker. But don't get too comfortable—the game is about to introduce you to its new party trick: 'Devouring Essence.' Consider this your friendly, 43-second countdown to a very permanent nap.
Taming The Abomination: Immunity Breaker 101
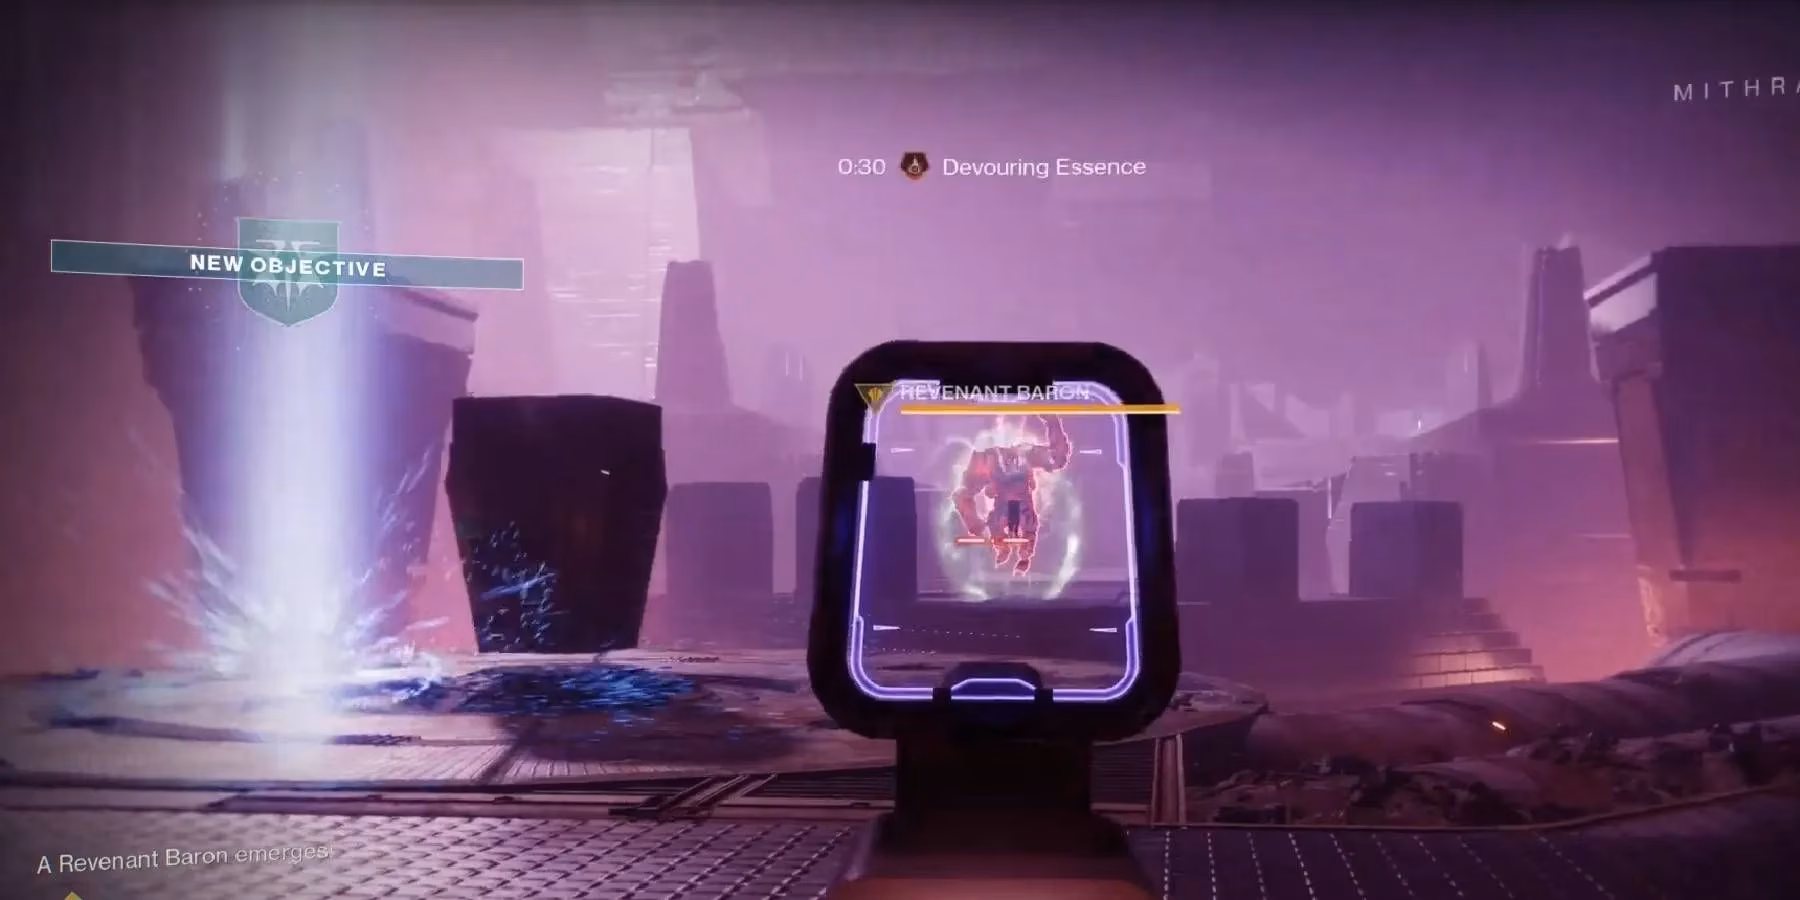
Your next stop is a scrap with The Abomination, a mini-boss with a serious case of 'you-can't-touch-this.' As soon as the fight starts, that pesky Devouring Essence debuff starts ticking down. You have 43 seconds to live. No pressure!
The Abomination, also known as the Revenant Baron, laughs in the face of your Super. He's completely immune at the start. So, what's a Guardian to do? Look around! The arena is littered with three High Revenant Elite enemies. Your primary objective isn't the big guy—it's his entourage.
The Strategy is Simple:
-
Ignore the boss (for now).
-
Hunt down and obliterate all three High Revenants.
-
Watch as the Abomination's shiny immunity shield flickers and dies.
-
Unleash hell. Unload your heaviest weapons, your most devastating Supers—everything you've got. With its protection gone, this mini-boss goes down faster than a bowl of ramen at a Guardian potluck.
After the Abomination is scrap metal, you'll delve deeper into the caves, tangling with more enemies and another Subjugator. Follow your marker, grab any loot that drops (hey, that seasonal Exotic won't farm itself), and steel yourself for the main event.
The Grand Finale: Skolas Rises (Again!)
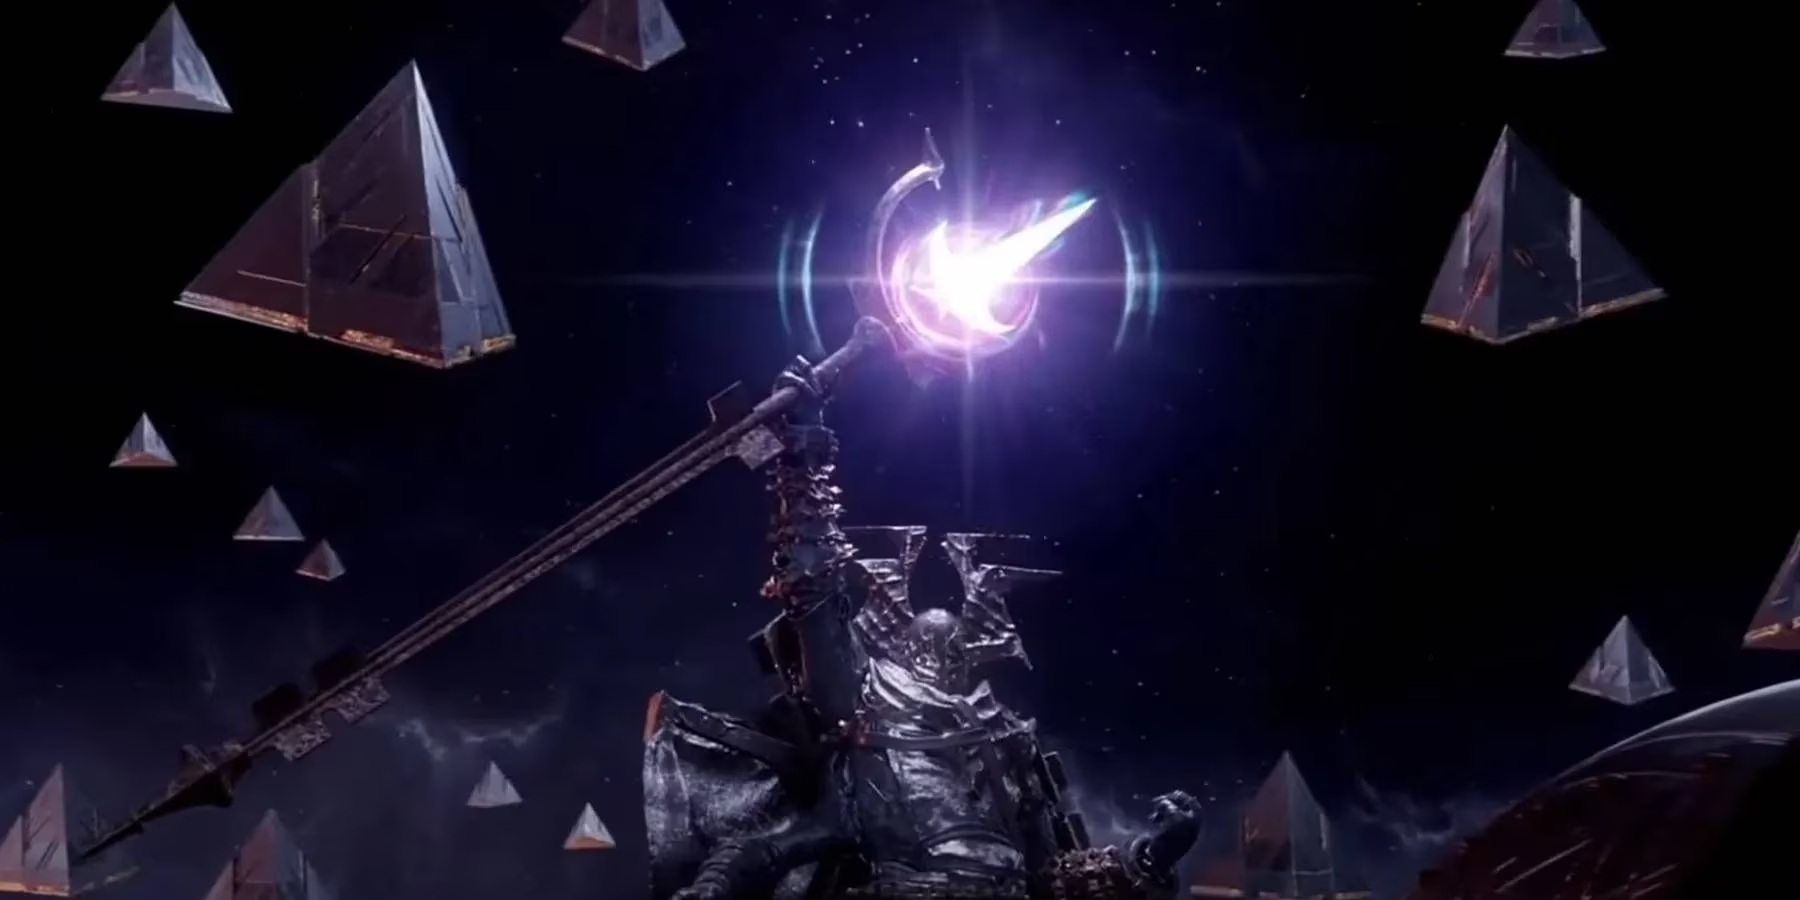
Remember Skolas? The Fallen Kell from the House of Wolves back in 2015? Of course you do. Well, he's back, and he's crankier than ever. This final arena is where 'Captive Memories' stops playing nice. Skolas isn't just a bullet sponge; he's the whole darn ocean. And to make matters more 'raid-like,' you can't respawn freely. One careless move, and it's back to the beginning for your whole fireteam. Fun, right?
Skolas brings two key mechanics to the dance:
-
The Devouring Essence (Again): It's back with its 43-second timer.
-
Splinter Mines: Skolas will try to activate these devices around the arena. If he succeeds in detonating one? Kaboom. Instant wipe. Game over.
How to Turn This Kell into Kell-ogg's:
| Phase | What Happens | What You MUST Do |
|---|---|---|
| Phase 1 (100%-60% Health) | Skolas attacks and will eventually try to arm a Splinter Mine. | DPS Skolas while watching for mines. Stand in the large white circle under a mine to disable it. Keep his adds (minions) cleared! |
| Phase 2 (~50% Health) | Skolas becomes immune and slaps you with Devouring Essence. | STOP shooting Skolas! Find and kill the High Revenant Elites in the arena. Each kill resets your 43-second doom timer and removes a chunk of his immunity. |
| Phase 3 (Immunity Down - 10% Health) | Skolas is vulnerable again but will try one last Splinter Mine. | BURN HIM DOWN. Keep an eye out for the final mine and disable it using the same white-circle method. Don't let up! |
The core loop is manage adds, disable mines, and break his immunity by killing High Revenants. It’s a classic Destiny dance of mechanics and damage. Stay mobile, communicate with your team, and pour on the damage whenever his health bar is actually moving.

Victory brings a sigh of relief, some closing words from Variks and Mithrax, and the sweet satisfaction of progression in the Episode: Revenant Act 2 storyline. You've conquered the memories, both captive and frustrating. Now, go enjoy that loot—until the next farm run, of course. 😉