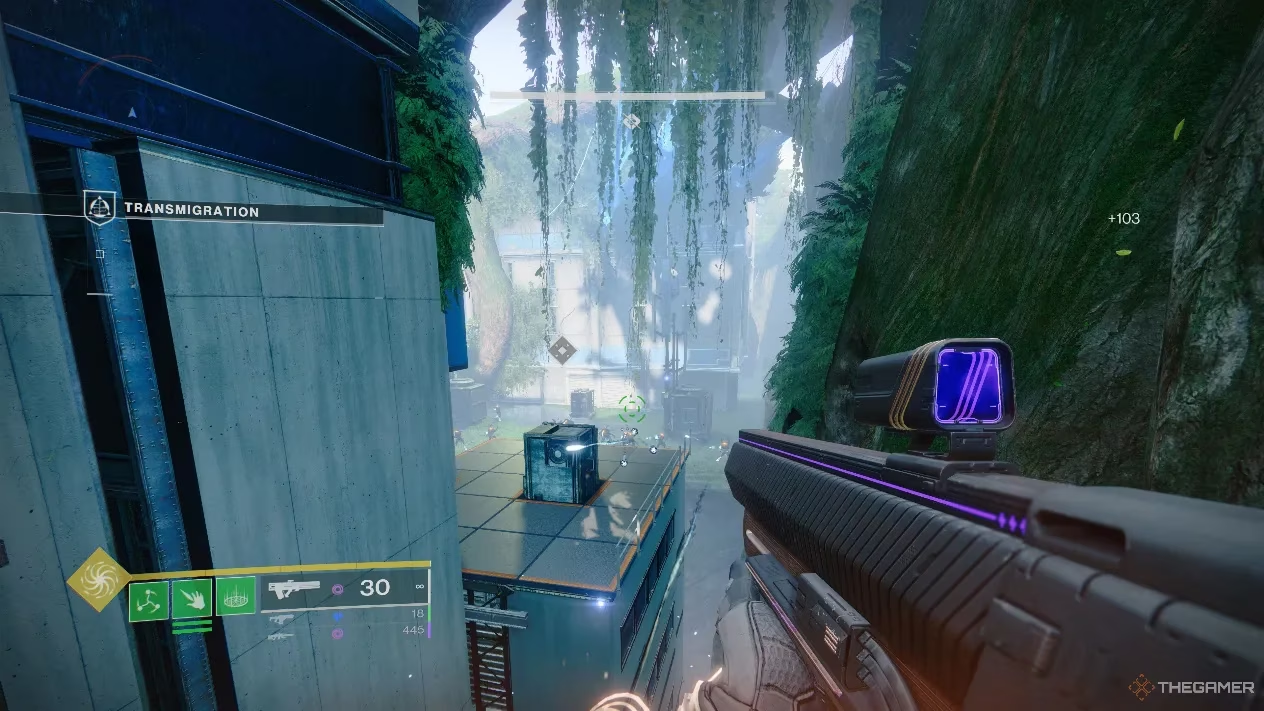
The decade-long saga is reaching its ultimate crescendo, and the stakes have never been higher. In Destiny 2: The Final Shape, the final battle against The Witness demands new power. To stand a chance in the climactic Salvation's Edge raid, you'll need to master the fusion of Light and Dark through the all-new Prismatic subclass. This journey begins with the pivotal Transmigration mission. Buckle up, Guardian, because we're about to walk you through every step, from crossing the first ominous threshold to facing down a terrifying Subjugator and finally basking in the glorious might of Prismatic. Let's get into it! 😤
So, you're staring down that first Darkness Well...
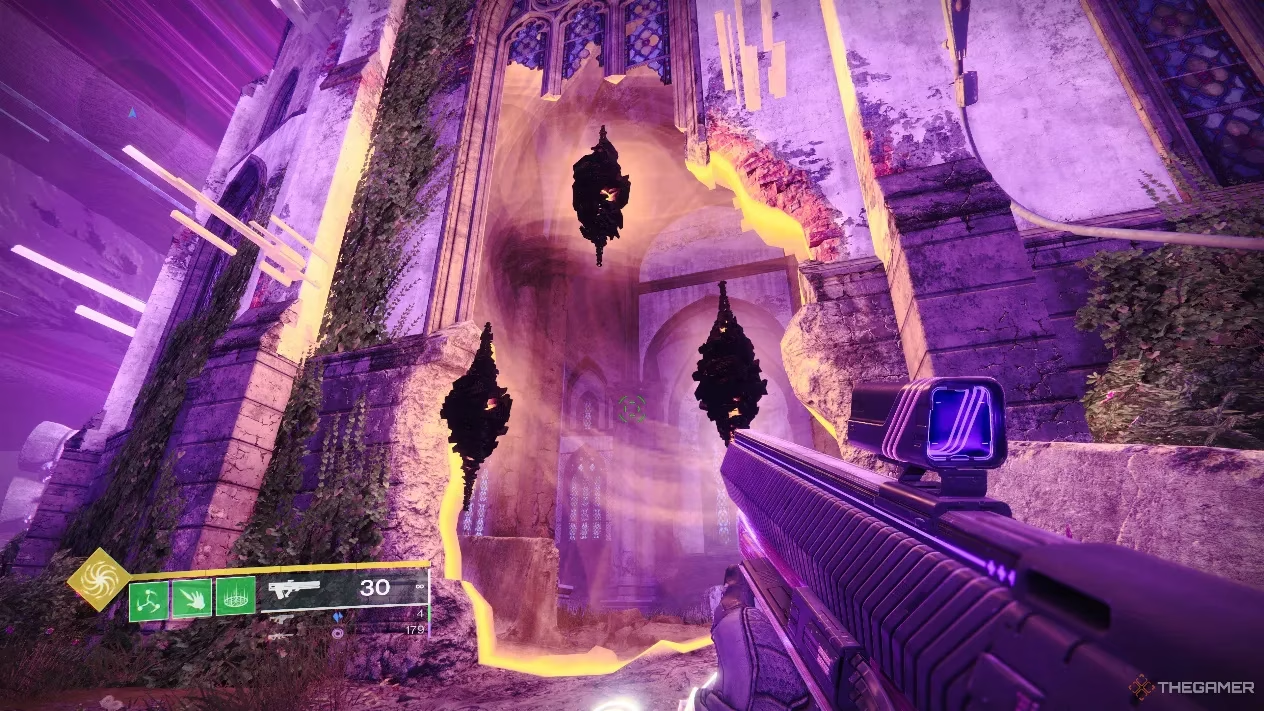
The mission kicks off with you approaching a foreboding Darkness Well. Your first task? Fight off the Taken and take down a Will-Crushed Centurion. This guy will drop a precious Icon of Light. Grab it, hustle back to the Darkness Well, and shoot the relic to activate it. Voilà! The real path reveals itself.
Just follow the newly materialized platforms until... yep, a big ol' Darkness barrier blocks your way. Don't panic! Look for the floating Darkness switches around it and shoot them to bring the barrier down.
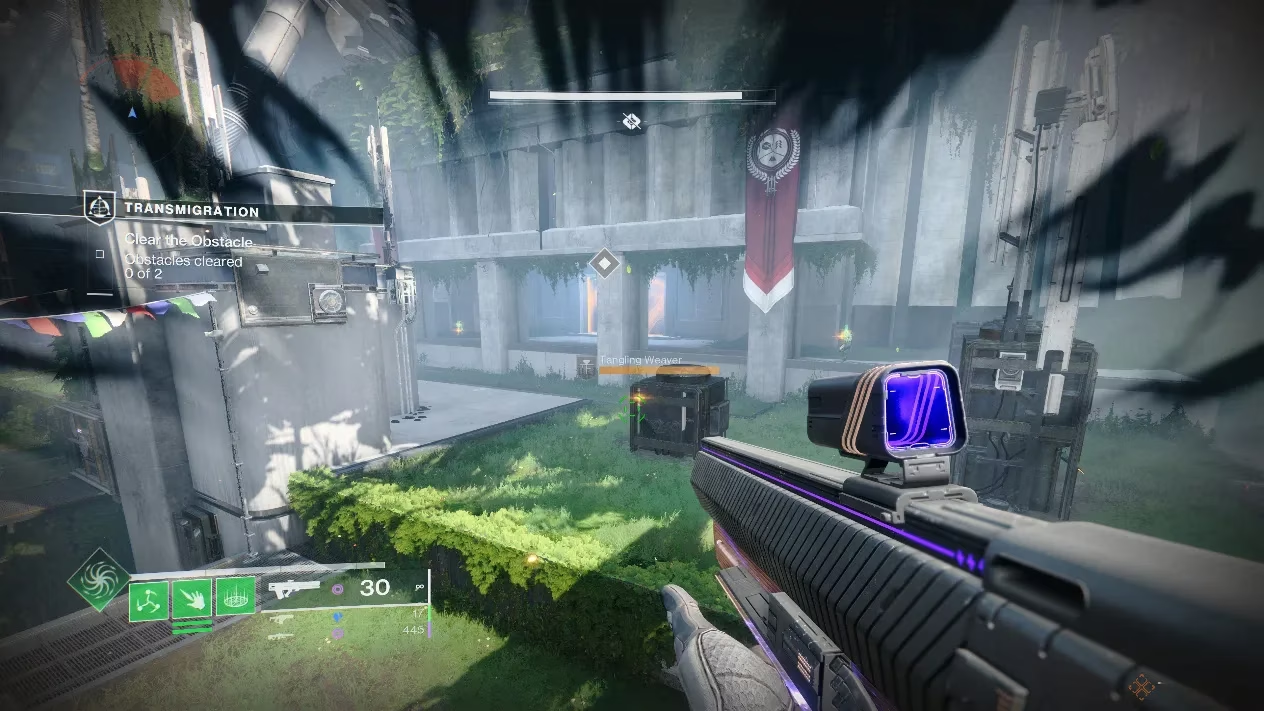
Past the barrier, head up the broken, floating pathway to the right. Keep your eyes peeled – this is where you'll meet the Tangling Weavers, one of The Final Shape's nasty new enemies. Nasty little things, honestly.
Ascend the path, break a small barrier at the top, and find the last switch up and to the left. This leads you into an open arena. Spot another Darkness Well on the right edge? Perfect. Plant a rally flag for ammo, then move forward to spawn more Taken. Same drill: activate the well, hunt another Will-Crushed Centurion for its Icon, and use it to make the path real. Head into the monolith.
You'll enter a large area with a Taken spawn. Clear them, and then a second group of Prismatic-shielded Bound enemies appears. Here's a pro tip: just ignore them and run. Seriously, book it past them, following your marker. Head right and upwards, fighting another Taken spawn at the top.
You know the routine by now. Another set of platforms, another Darkness Well. Rinse and repeat: hunt the Centurion, deactivate the well's shield, reveal the path with the Icon. Follow the real path up, and claim your reward chest.
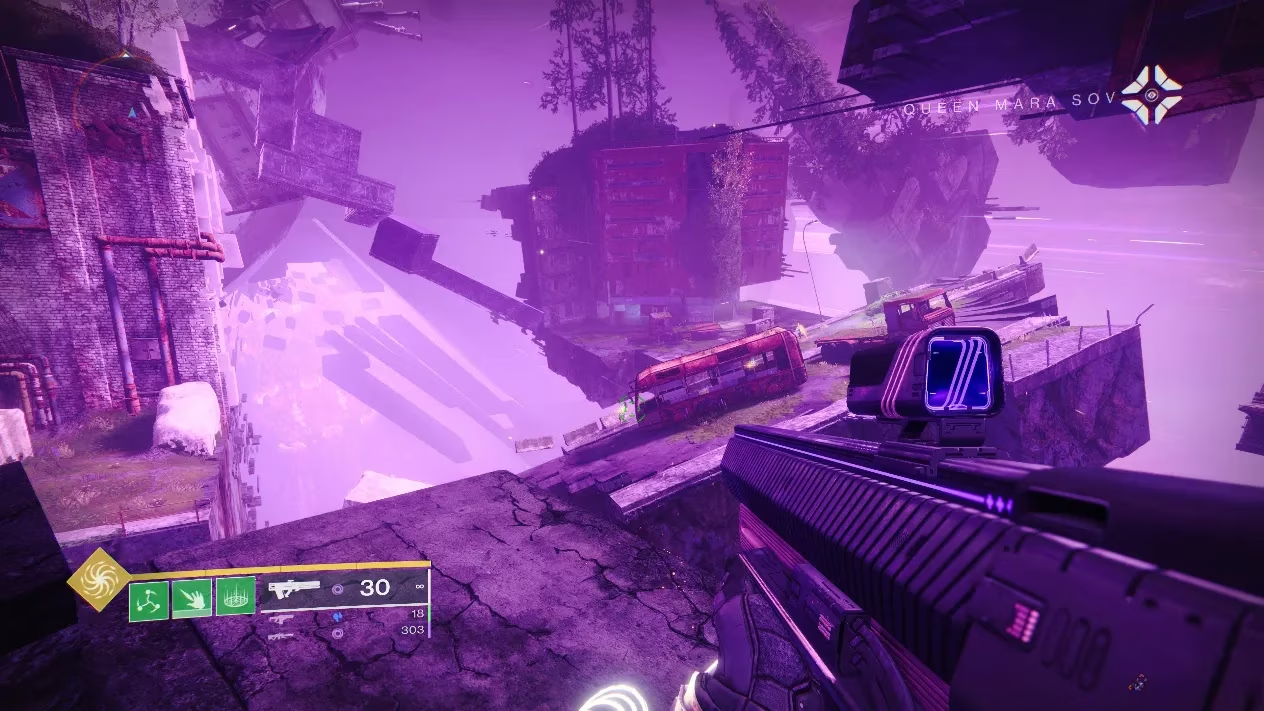
From the chest, peek right. See those platforms? That's your ticket. Ignore another set of Bound enemies (you can't hurt them yet, trust us), sprint toward the horizon, and let Mara Sov's power sweep you into the Threshold. Now, just kick back and enjoy the cutscene – the wild ride is only half over!
Welcome to the Other Side: The Lost City Awaits 🕊️
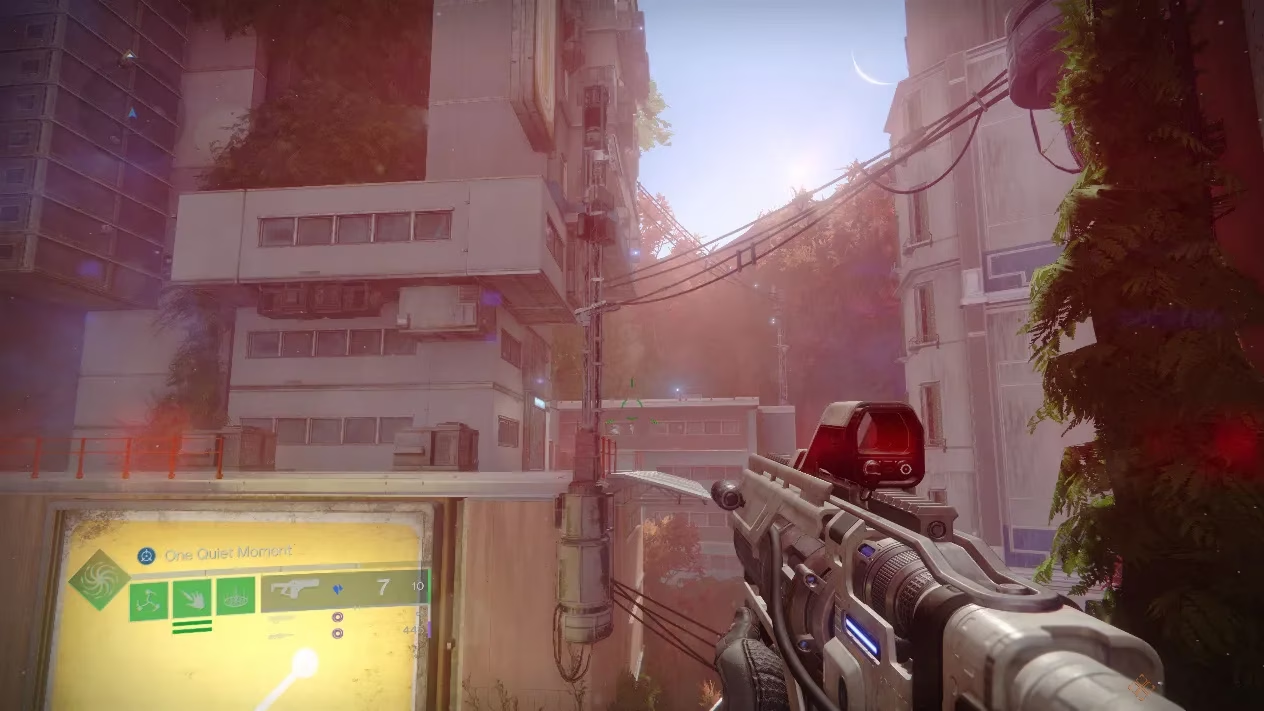
The cutscene fades, and a mysterious call beckons you forward. "Come and See." Follow the illuminated path through a cave, and you'll drop into The Lost City, Outskirts. It's hauntingly beautiful. Explore a bit, and you'll spot a spectral bird. This is your guide! Follow its flight path as it phases in and out.
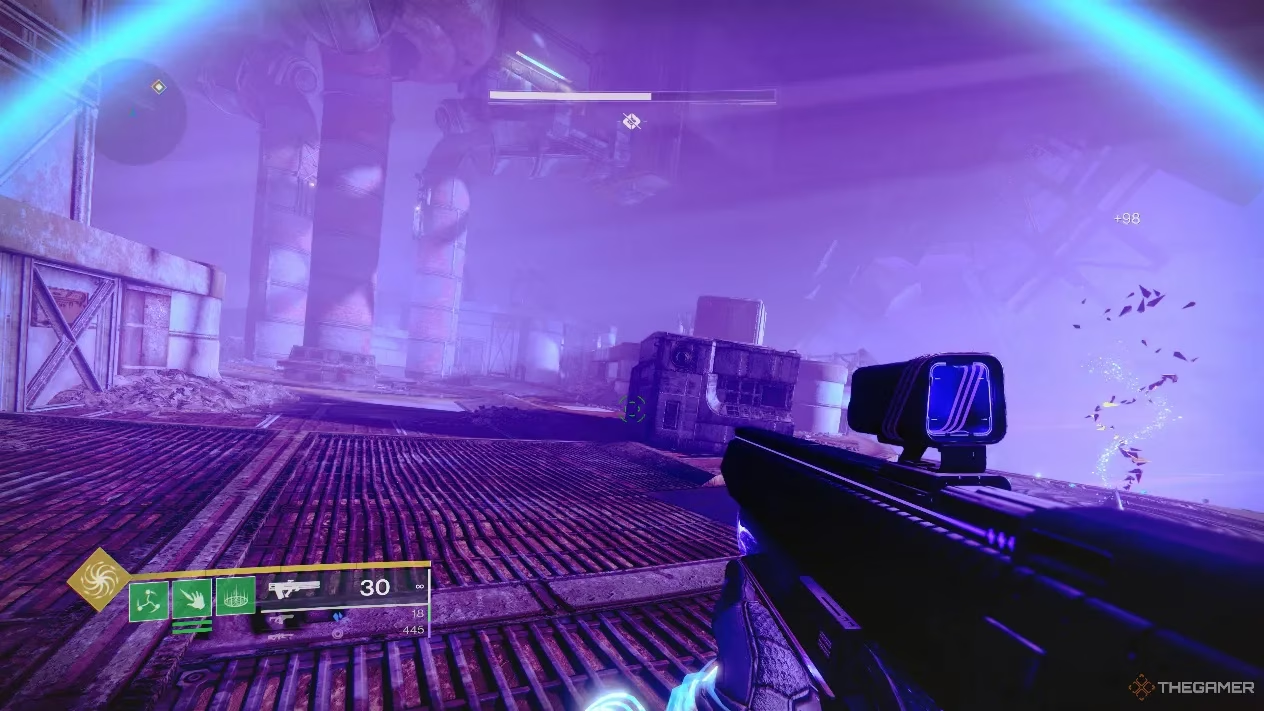
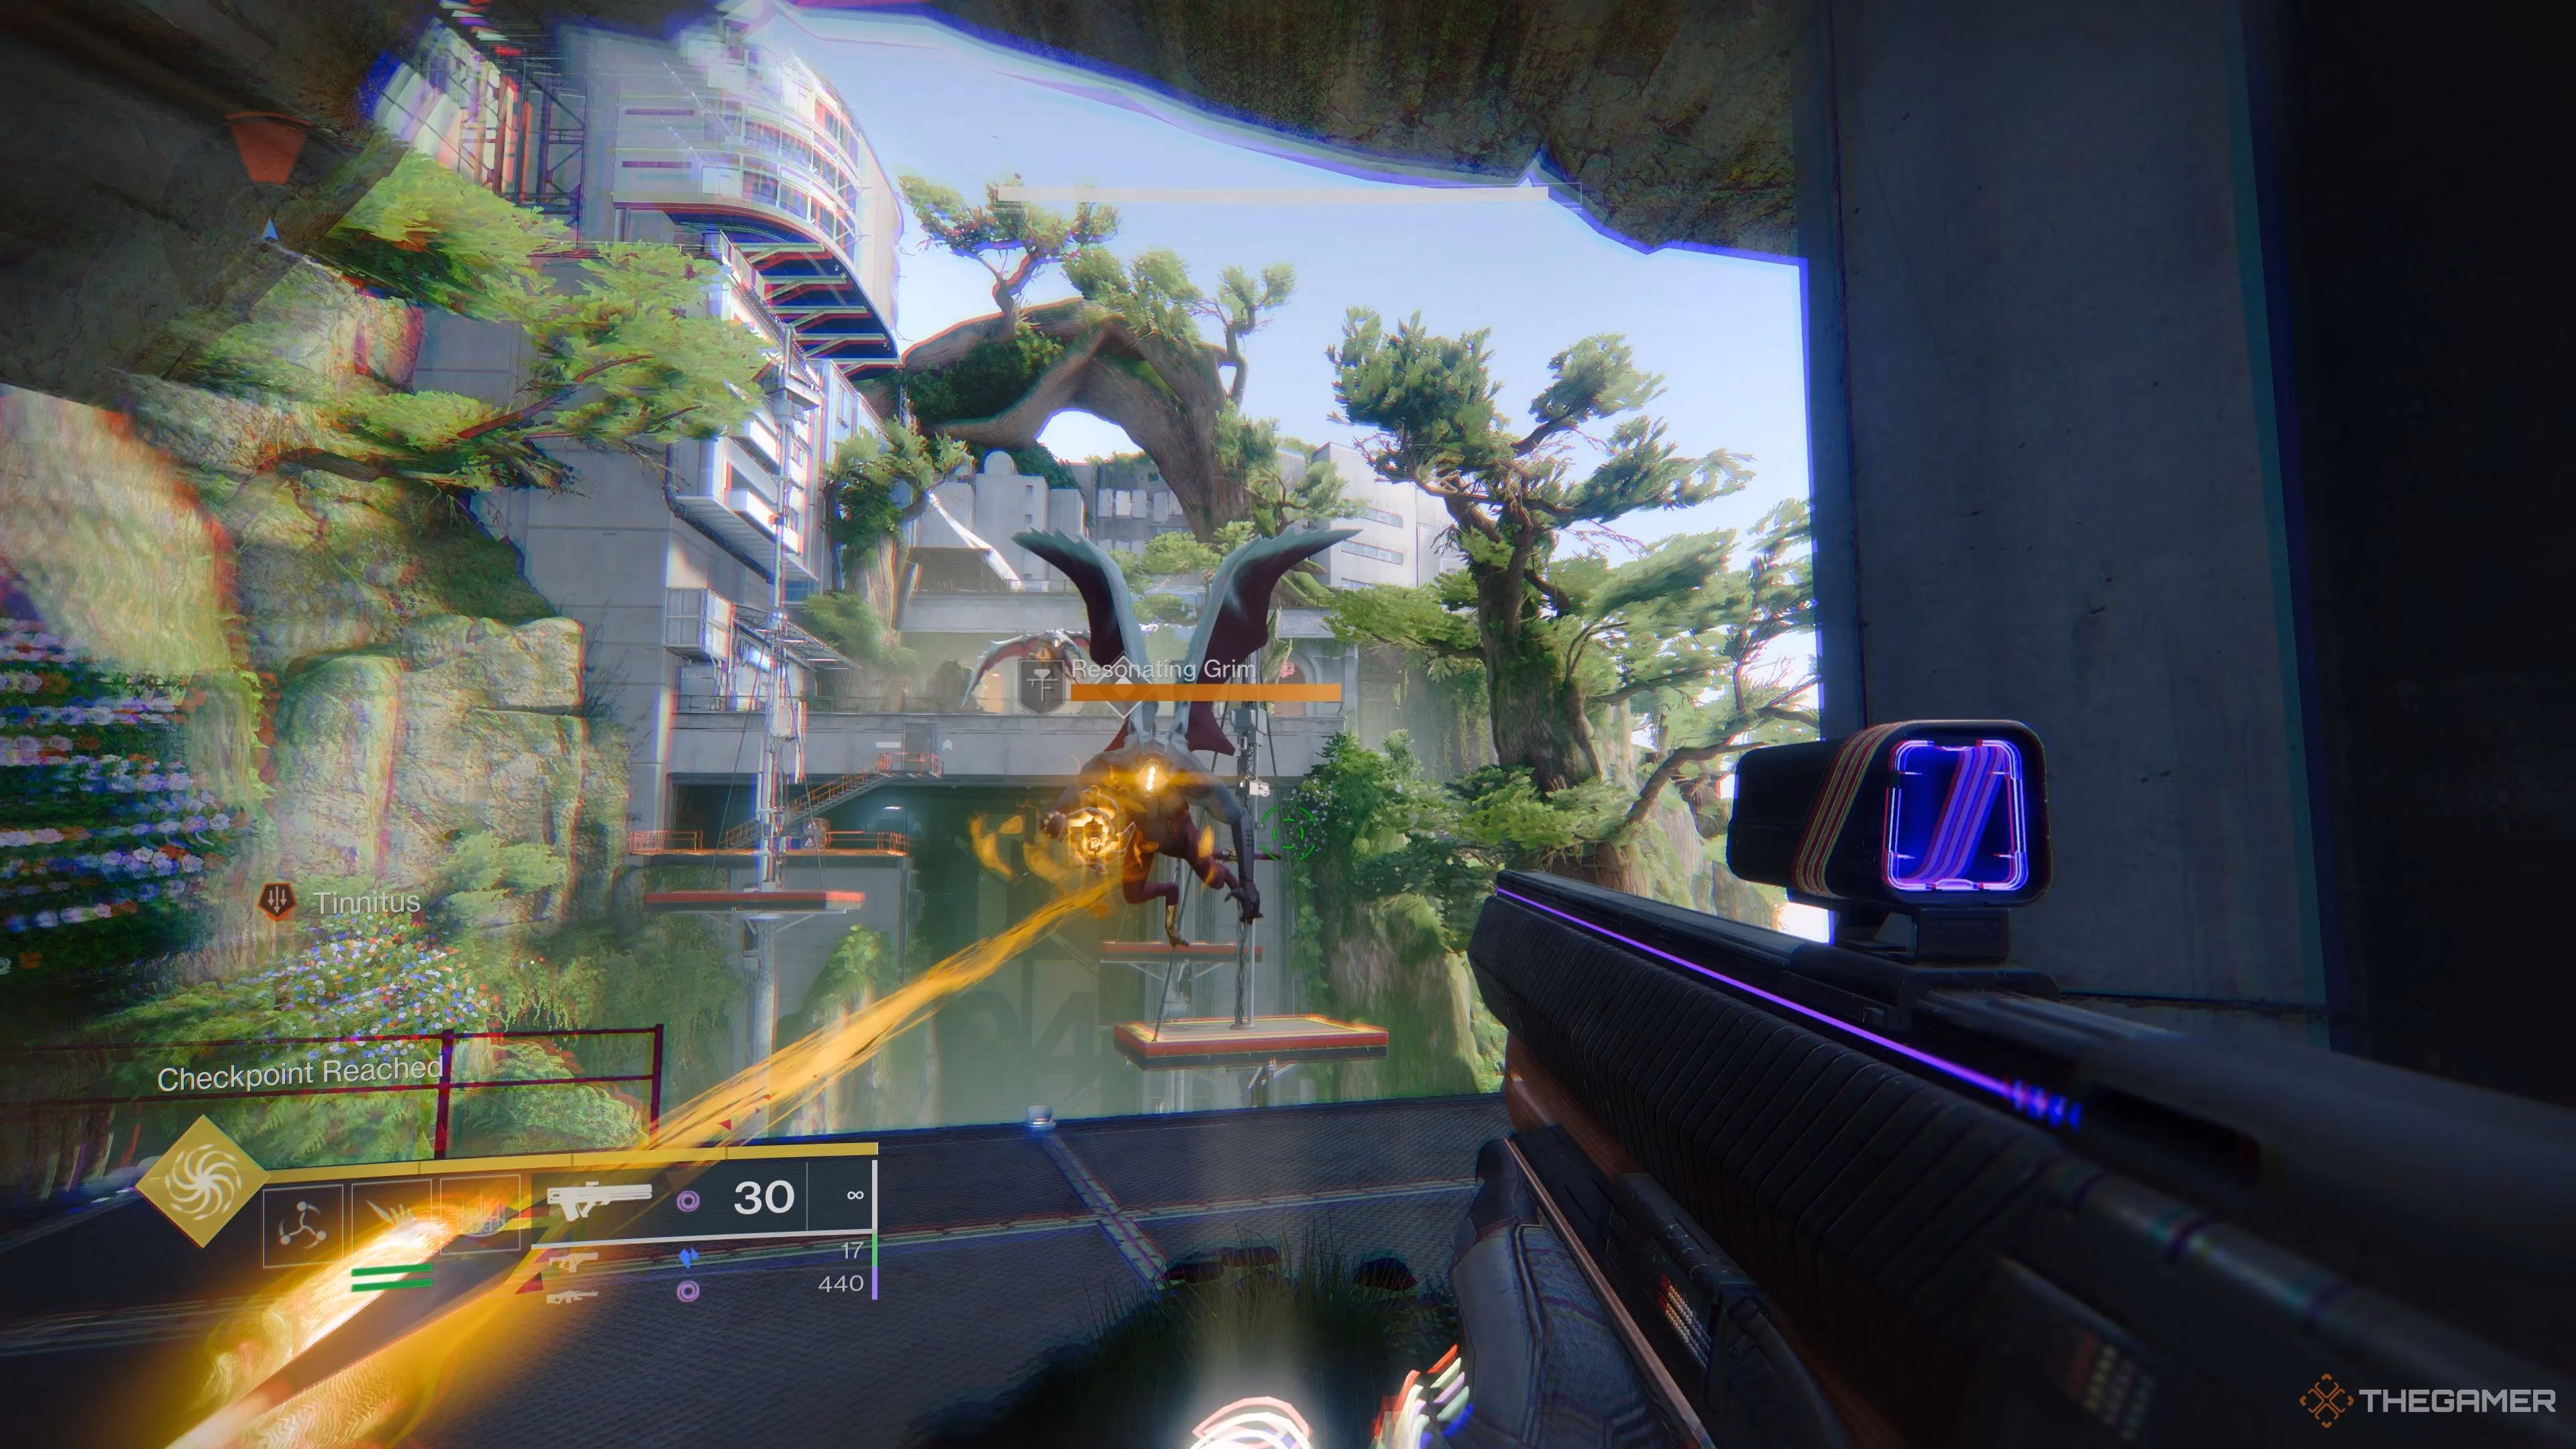
It leads you up a cliffside into a familiar-looking door (hello, old Tower vibes!). In the clearing, you'll meet another new foe: The Resonating Grims. Deal with these flying pests until you hit a barrier.
Time for a boss fight! In this area, you need to defeat a Harvester of Light wizard. It drops an Icon of Darkness. Grab it, clear the remaining Taken, then head to the Prismatic Wellspring on the left. Commune with it to Transcend for the first time. This is the key! Now you can finally damage those pesky Bound enemies by breaking their shields. Clear them out, then exit through the left-side gate.
Your bird buddy is back! Follow the path along the rooftops as it guides you. You'll arrive in a main open area with a large spawn of Tangling Weavers. Clear them, then follow the bird to a marker on the right side.
Defeat the enemies here, use another Prismatic Wellspring to Transcend, and take down the Light Harvester Wizard in this zone for its Icon of Darkness. Now, backtrack to the central barrier door. Bank the Icon of Darkness to remove one lock on the door.
Cue another big enemy wave. You gotta do it all again, but this time on the left side of the room. Same process: clear, Transcend, defeat the wizard, get the Icon.
Return to the middle, defeat the big bad Ogre called the Icon of Finality, and bank the second Icon to remove the final barrier. Loot the chest, head through the door, go left and ascend. Where are you? Oh, just the old Vanguard command center from the original Destiny Tower. Talk about a nostalgia trip!
Approach the central Prismatic Wellspring and commune. This is it, the moment you've been working toward... Unlocking the Prismatic subclass! 🎉
The Final Test: Facing Vrihn, Subjugator of Gardens ⚔️
Don't celebrate for too long. Follow the tunnel behind the Wellspring deeper into the tower, into the courtyard. Plant a rally flag. Prepare for a fight.
Step forward, and a Taken group spawns, followed by Bound enemies you must Transcend to defeat. Once they're down, the real fight begins.
Vrihn is a powerful Subjugator boss – tons of health, crazy mobile, and hits like a truck. Here’s the survival guide:
-
Keep Your Distance: This is non-negotiable. Use the tower's architecture as cover. Always keep something between you and Vrihn.
-
Clear the Room First: New enemies spawn with every 33% of Vrihn's health you chunk. Clear each wave before focusing damage on the boss. The arena is chaos if you don't.
-
Use the High Ground: The stairs on the map's right side give you a great height advantage. Use them, but keep cover from his Strand attacks.
-
Strand vs. Strand: Counter with your own Strand attacks. Match his power with yours.
Once Vrihn finally falls, collect your well-earned chest and settle in for the concluding cutscenes. You've done it. You've crossed the Threshold, navigated the Lost City, and proven your worth against a Subjugator. Now, the true power of Prismatic is yours to wield in the final battle against The Witness. Good luck out there, Guardian. The shape of destiny is now in your hands.