As a Guardian who has walked the path of the Whisper many times, I can tell you that its return in the "Into the Light" update was a moment of pure nostalgia and fresh challenge. Venturing back into the depths of Io to reclaim the Whisper of the Worm, the iconic Exotic Sniper Rifle, felt like coming home to a familiar, yet more dangerous, legend. This mission isn't just a nostalgia trip; it's a fully modernized, craftable pursuit with hidden depths. The core of the experience remains that heart-pounding, timed descent into a Taken-infested Vex complex, but now it's layered with new secrets, upgrades, and a brutal final test. Let me walk you through everything I've learned from countless runs.
My journey always begins by speaking with Eris Morn on the Moon. She gives me the "Whispers of the Past" quest, which is my ticket into the fray. The mission itself is found in the "Into the Light" director tab. A crucial detail: there is no matchmaking. I've had to learn to rely on my own skills or coordinate closely with my fireteam. The mission is timed – 40 minutes on Normal, a punishing 20 on Legend. If the clock hits zero, it's back to orbit with no checkpoints. The modifiers set the tone:
| Difficulty | Key Modifiers |
|---|---|
| Normal | Power Level 1,810, Arc Threat, 40-minute timer. |
| Legend | Power Cap at 1,815 (-15 delta), Arc Threat, 20-minute timer, Sniper Rifle Overcharge, Epitaph (defeated Taken spawn blight geysers). |
The pressure is real, but so is the reward. For veterans, the jumping puzzles are lovingly unchanged, but the combat has been tuned for today's sandbox. I noticed new Vex Cubes at the end of platforming sections—destroying them creates shortcuts for teammates. The old hidden chests are gone, replaced by mysterious Oracles to destroy. And the biggest surprise? After the classic trio of Taken bosses, a new, shielded Ogre named Tulgorh, Aspect of Agony, spawns, demanding a quick tactical shift.
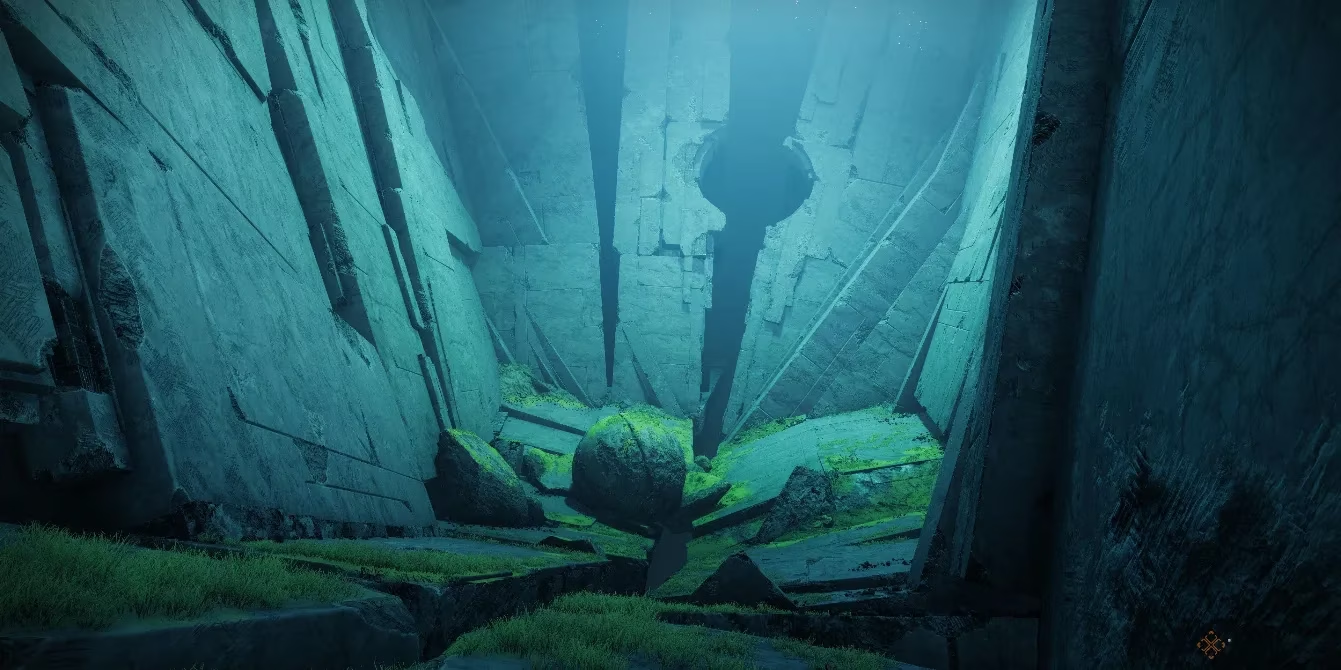
My first steps into the Lost Sector on Io are always methodical. I clear the initial Taken Thrall and then search for that first Vex Cube floating beside a tree on the opposite wall. Shattering it reveals the path forward—a series of Vex platforms leading to a Taken Blight. Destroying that blight opens the hole, and the real descent begins.
The following sections are a beautiful, treacherous dance of light and geometry. I follow the bright lights, using Strand's Grapple or an Eager Edge Sword to make some daunting gaps manageable. One of the most memorable early challenges is the wall with slow-moving pistons.

I learned the hard way to be patient here. I wait for the first piston to recede, move to the second, and stop. After it extends and retracts, I move to the third, waiting again before making my final push to freedom. Rushing means a long fall and lost time. After this, I ride a cube elevator up, navigate another Vex hallway by timing my sprints between retracting walls, and traverse a chasm of diagonal pillars.
Then comes the legendary Green Room. It looks imposing with its patches of vegetation and complex ledges. A well-known secret? You can skip the entire puzzle by turning around upon entering and crouching under the small ramp at the entrance. However, if I'm hunting Oracles, I must complete it the traditional way, jumping from grassy platform to grassy platform in a vertical labyrinth.
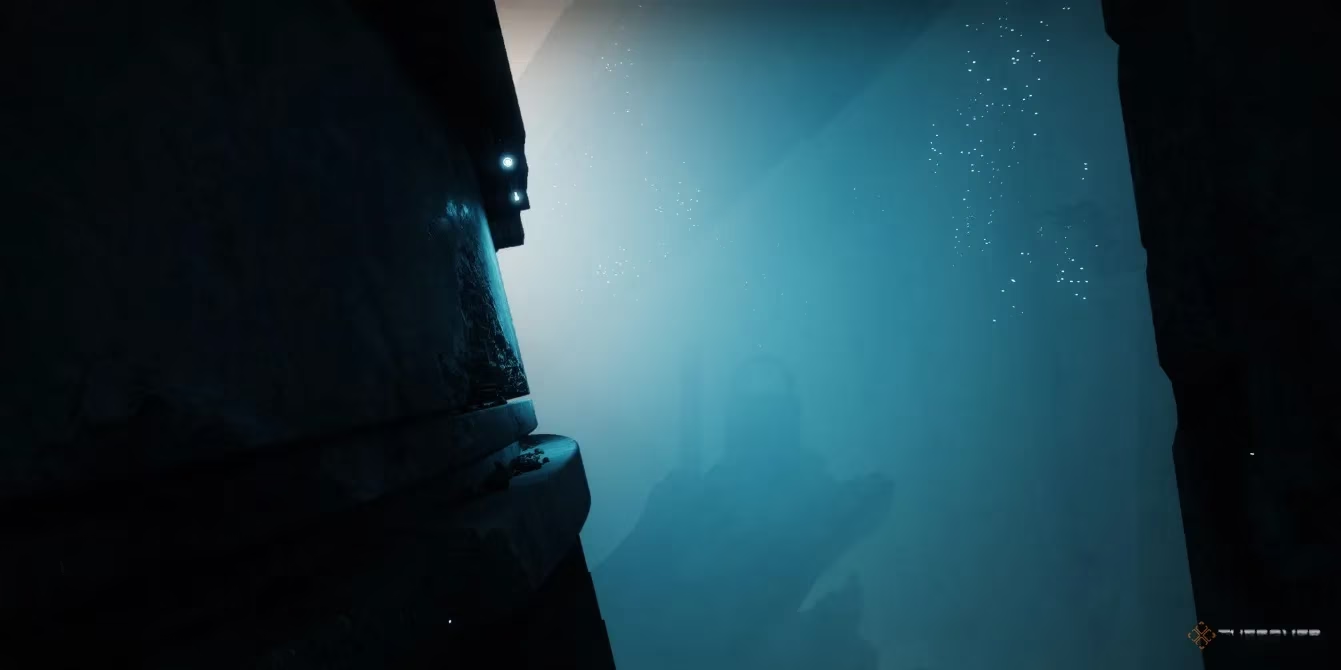
The platforming finale has me running along a circular structure before dropping into the bright light below. That light signals the shift from patience to pure combat aggression.
Eradicate The Taken Corruption – this phase tests my add-clearing efficiency. Each room must be completely cleared of Taken. I don't have to destroy the numerous Taken Blights, but creating safe zones is always a smart move. My strategy: survive. I focus on high-threat targets like Vandals and Knights first, use cover relentlessly, and clear rooms methodically before destroying the energy blocking the exit.
Finally, I reach the heart of the structure: the boss arena.

After clearing the initial Taken Centurions, a Rally Banner appears. This is my cue to switch to my heaviest damage-dealing setup. Three Vex Cubes in the center of the room hold the first bosses captive: Urzok (Knight), Drevis (Captain), and Ta'aurc (Centurion). I can spawn them one at a time or all together. Solo, I take them individually, using the short pillars for cover and the side tunnels for escape. But the fight doesn't end with them. As soon as the third falls, Tulgorh, Aspect of Agony, a massive Taken Ogre, spawns with an immunity shield. To break it, I must quickly eliminate the two Taken Wizards at the back of the room. It's a frantic, two-phase dance: kill Wizards, damage Ogre, repeat. Victorious, I open the final chest to claim my prize: the Whisper of the Worm and its crafting pattern. The Exotic Catalyst, I should note, only drops from Legend difficulty completions.
But the journey with Whisper is just beginning. To unlock its full crafted potential, I embarked on Eris Morn's quest series, "Whispers of the Taken."
-
Whispers I: After my first clear, Eris sent me back to collect Taken Essence and then into the Legend version. My task? Before even jumping down the initial hole, I had to turn around in the Lost Sector and, with Whisper equipped, shoot three floating Blights. Completing Legend afterwards unlocked Field Prep as a craftable trait.
-
Whispers II: More Taken Essence collection led me back to the Legend mission, this time to the Green Room. Upon entering, three more Blights hover in the air. Destroying them all and finishing the mission granted the No Distractions trait.
-
Whispers III: The final quest. After gathering 50 Taken Essence, I had to find the last three Blights in the Legend mission, located right before the final boss arena. I completed the combat gauntlet but stopped before dropping down. With Whisper equipped, I found them: one to the right of the entrance, one hidden on the triangular platform across from me, and the last by looking up from that spot near a Vex pillar. Finishing this ultimate challenge unlocked the superb final trait: Enlightened Action.
The true endgame, however, lies in the seven hidden Oracles. Replacing the old chests, these grant intrinsic upgrades for Whisper and the fabulous Karve the Worm Exotic ship. Here’s where I found them all:
-
Oracle #1 (Intrinsic II): Right after the first descent down the Taken Blight hole. After the first jump, hug the left wall, jump around a corner towards light, and find it above a broken Goblin.
-
Oracle #2 (Ship Progress): After using the cube elevator, follow the path but don't enter the Vex hallway. Jump up a narrow platform and look left for a gap in the wall above you.
-
Oracle #3 (Intrinsic III): In the pillar section. At the exit, turn around, shoot a Vex Cube to create a platform behind the last pillar, and jump across to find it in a corner.
-
Oracle #4 (Ship Progress): In the Green Room. You cannot skip the puzzle for this one. Complete the entire jumping puzzle. When standing on a ledge above the room's entrance, drop to a grassy patch leading to a hidden room with dead Vex and the Oracle.
-
Oracle #5 (Intrinsic IV): In the Thrall Pit beneath the Green Room. Drop in, find an alcove opposite the entrance, and slide under a narrow gap in the right wall.
-
Oracle #6 (Ship Progress): In the semicircle platforming section. On the Vex platform leading to the bright room, don't jump. Instead, hop down to a hidden parallel platform on the left and crawl into a room.
-
Oracle #7 (Karve the Worm Ship): In the same semicircle room. From the entrance, look right and make a long jump across the chasm (an Eager Edge Sword helps). Follow the wall to a Vex Portal on the far side; the Oracle floats behind it.
This mission, for me, represents the perfect blend of Destiny's past and present. It respects the legendary design of the original while integrating seamlessly into the modern crafting and pursuit systems. The thrill of mastering the jumps, the tension of the timer, the satisfaction of a clean boss melt, and the treasure hunt for Oracles—it’s an experience that continues to reward dedication. Whisper of the Worm is no longer just a powerful weapon; it's a testament to a Guardian's perseverance, and crafting its perfect roll has been one of my most rewarding endeavors in recent memory.